Laser Makes Run-Out Measuring a Snap
Machine shops and many industrial facilities utilize linear stages, X-Y tables, slide tables, and other precision motion systems for positioning parts. In some cases, these moving systems carry a cutting head or a read/write system or similar device used in a carefully controlled process. The question always comes up: “Is this stage running straight and true?”
Traditional measurements of stage run-out require optical systems, time-consuming techniques, or dial indicators that introduce a variety of error sources.
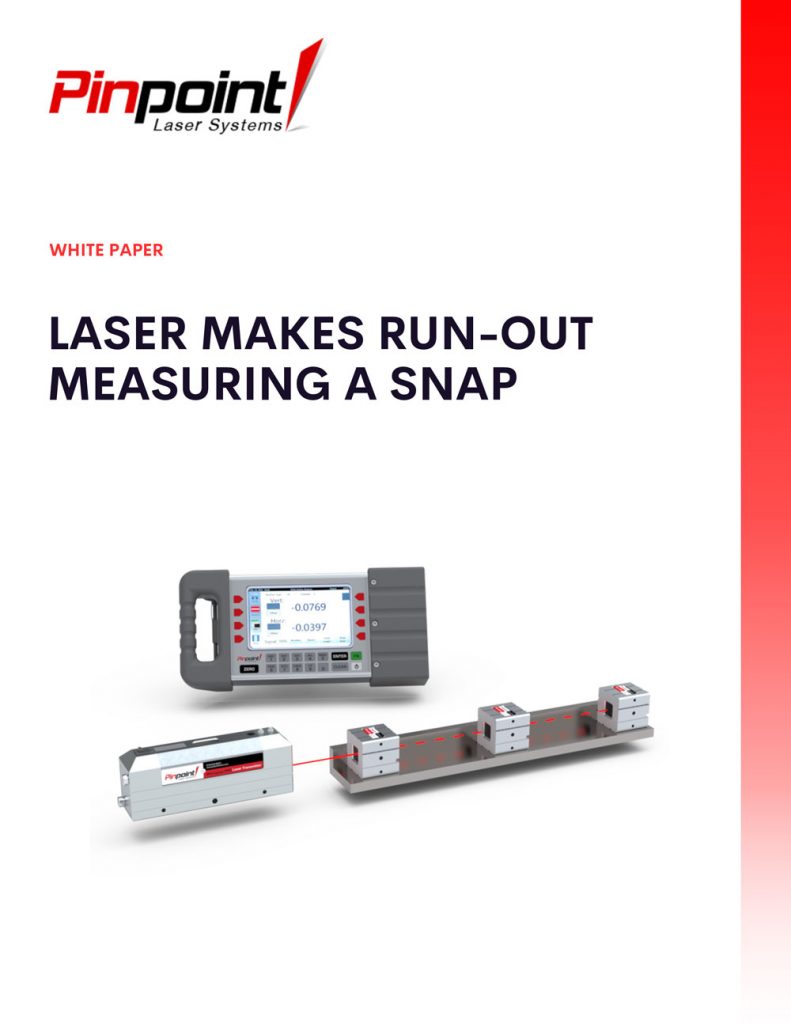
The Laser Microgage is a perfect tool for measuring run-out on a variety of moving stage and slide systems. Recently, we traveled to a customer’s facility and measured the run-out on a CNC machining center with an X-axis stage that travels 70 inches. The technique and results were interesting.
We began by positioning the laser at the end of the machining center and aiming the laser right down the top of the X-axis table. The Microgage receiver was secured to the table surface, so that the detector port was vertical, because we were looking for vertical errors in the stage level. The display value was then set to zero. The table was run through its full motion in the X-axis and readings were recorded every three inches with the position of the moving table. Once the measurements were taken, they were entered into a spreadsheet program and fitted with a straight line. The deviations from the straight line show the vertical displacement errors in the stage travel. By simply turning the receiver onto its side and repeating the procedure, we were able to measure side-to-side or lateral displacement errors.
What did we find? Over 60 inches of travel, the stage moved with only minor variations in the vertical direction. However, at the ends of the travel range, we observed vertical shifts of 0.003 inch or more – most likely due to uneven wearing of the ways or distortion of the bed. Customers can use this information to correct their machines and monitor machine performance over time. When setting up a machine, the Microgage has proven to be invaluable in aligning slides and X-Y tables. With the new DCU and Data Capture software, run-out measurements can be quickly made to a precision of 0.00005 inch over table and slide runs up to 20 feet.
If you would like to download this whitepaper please fill out the form below

Machine shops use precision motion systems like X-Y tables, often needing to confirm if stages run straight. Using the Laser Microgage, Pinpoint measured a CNC X-axis table for run-out over 70 inches, detecting minor vertical shifts and slight end-range errors due to wear. This tool allows users to quickly measure alignment to a precision of 0.00005 inch, supporting machine setup and performance monitoring.


