Flatness & Planar Measurement
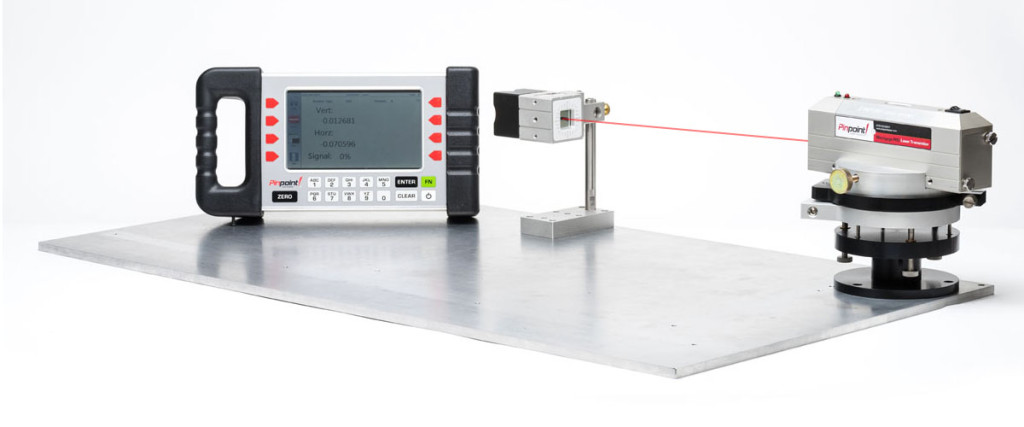
A precision rotating base defines a flat plane of laser light for measuring surface flatness. A digital receiver provides precise surface profile.
How it works
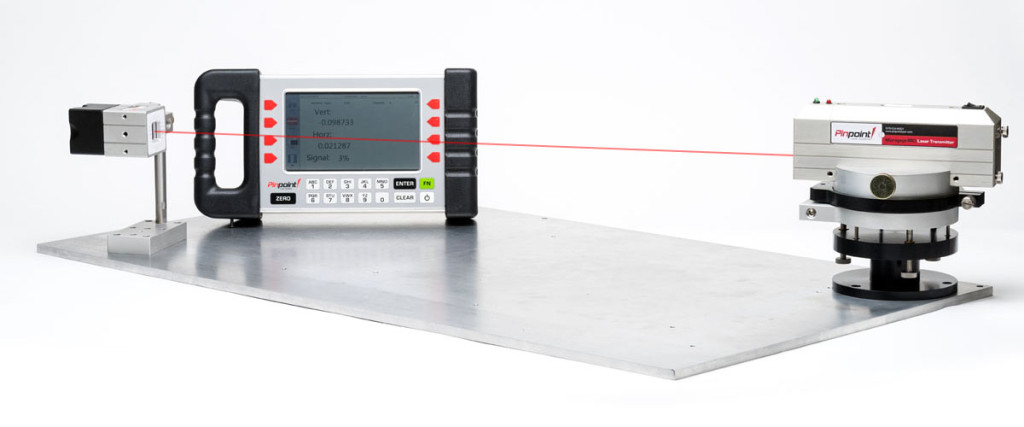
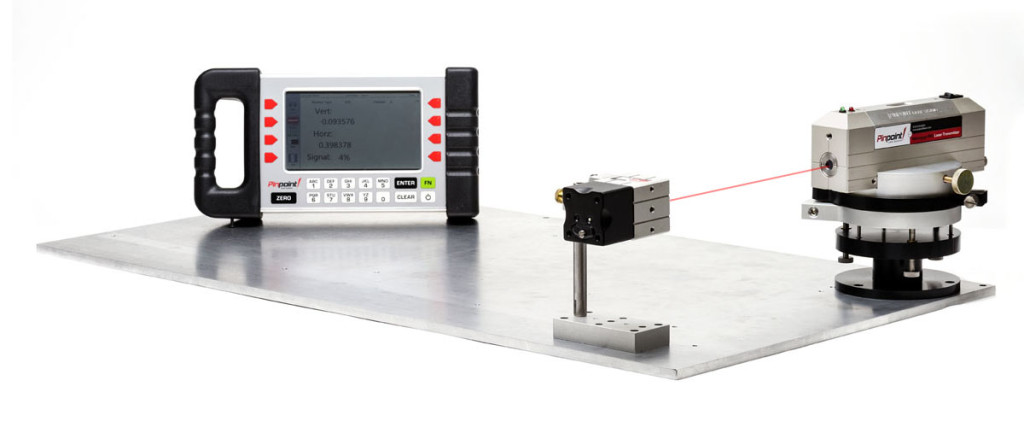
The laser transmitter is placed onto a precision rotating base called the Leveler which allows the laser to swing through a full circle and define a flat, precise plane of laser light. This plane of light is flat to within 0.001 inch over a 24 foot diameter area. The Microgage receiver is then moved to various locations around this work area and the laser is aimed to the receiver to make a height or profile measurement at that location.
The leveler can be adjusted with three precision adjustment screws and leveled if needed. This is a very versatile part of any laser measuring system.
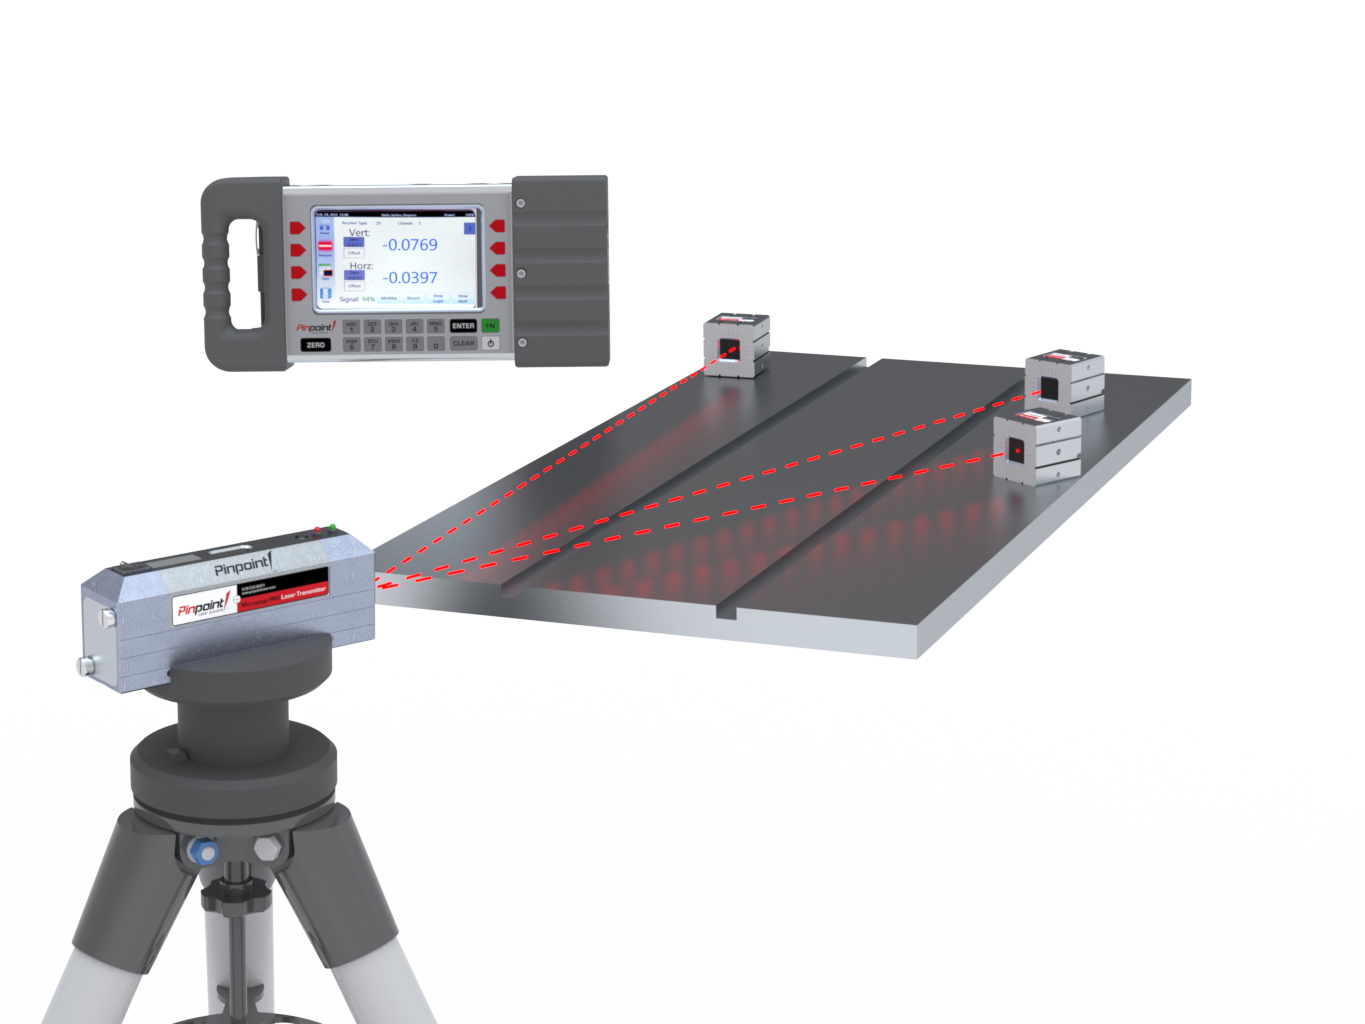
Typical flatness & planar measurement applications
- Checking machine beds
- Profiling surfaces and assemblies
- Measuring runout in gantry and machine tools
- Aligning roller and web systems
- Setting tracks, rails, and guides in place
- Checking flanges and circular planes
- Positioning machinery and equipment
- Assembling large weldments and fixtures
- Adjusting silicon wafer stager and PCB handling equipment
Components Needed
Useful Accessories
- Precision Tripod Mount
- Computer Interface & Pinpoint Capture for recording and mapping readings
- Roll Mount for checking rolls and web systems
Flatness measuring demonstrated in steps:
What our customers say
We did have a chance to use it on a cooling tower torque assembly for straight line and flatness assessments. Your product was very easy to set up and within an hour we had learned the systems and taken readings.
Greg Beavers — Calpine
Find your solution here
Not sure which laser alignment product is right for your job? Get expert advice from our engineers, contact us today.

