Straightness & Linear Measurement
Measuring straightness is easily done with the Laser Microgage and has a multitude of applications across industry.
How it works
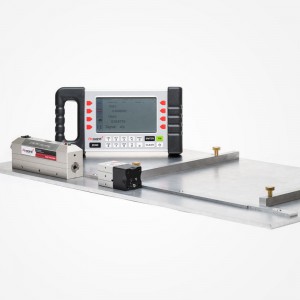
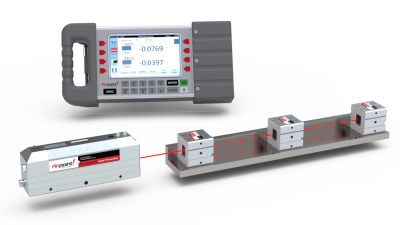
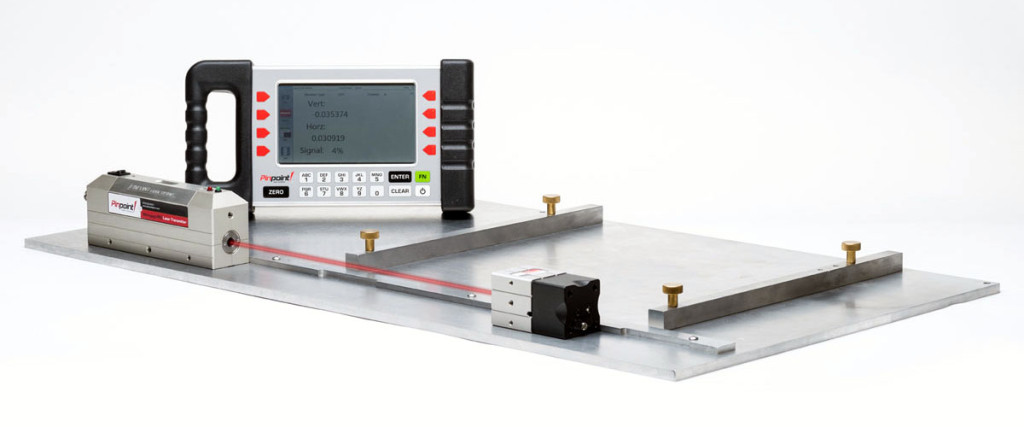
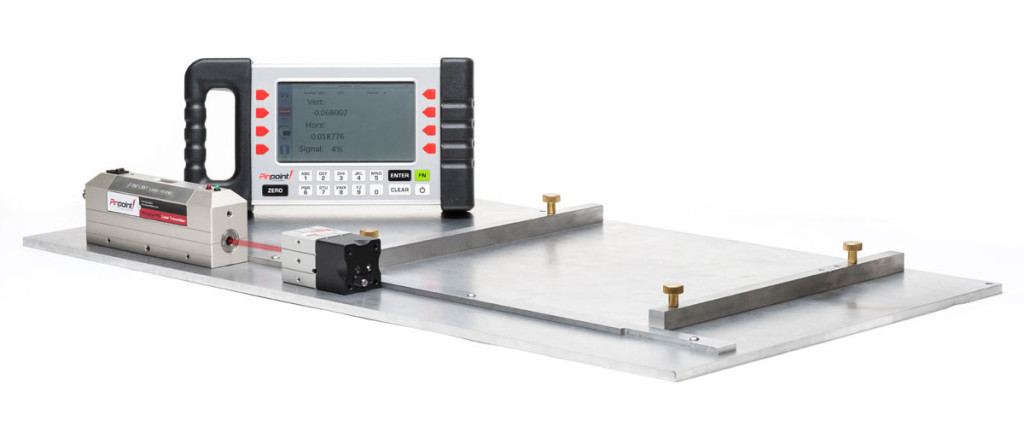
The laser transmitter projects a straight reference beam that passes over the surface or object to be measured. The receiver is then placed on the surface, track, rail, shaft or item to be checked and the display shows the height from the bottom of the receiver housing to the center of the laser reference beam. Taking multiple linear measurements provides a profile of the surface.

Typical straightness & linear measurement applications
- Measuring straightness of long machine beds
- Checking for runout on moving slides, tables and stages
- Measure bend and profiles in tracks and guide rails
- Shaft and drive alignment
- Positioning bearings and shaft supports over long runs
- Monitoring surface deflections and bending in long structures
- Aligning long rail and track sections
- Measuring deflections on rams, actuators, and extrusion presses
- Checking roll flatness and profiles
- Lathe and spindle alignment
- Other measurement of linear deflections
Components Needed
Useful Accessories
- 4-Axis Precision Mount
- Precision Tripod Mount
- DCU 2D interface for use with a laptop or PC
- 2D Transparent Receiver
Find your solution here
Not sure which laser alignment product is right for your job? Get expert advice from our engineers, contact us today.


