Challenge
A customer approached Pinpoint Laser Systems for a customized solution to measure the straightness of a long gun barrel that is used in field applications. The internal diameter of the barrel is 40 millimeters and the overall gun barrel length was close to 4 meters.
In addition to measuring barrel straightness, the customer also wanted to ensure that the breech area where the shell is loaded was concentric and parallel with the barrel. This application also required measurements at various temperatures and in outdoor conditions over a thirty day testing period.
Finally, they also needed to check gun barrel straightness after multiple test firings, which required a measuring instrument that could be used in the field and quickly installed and removed for measurements immediately after firing.


Solution
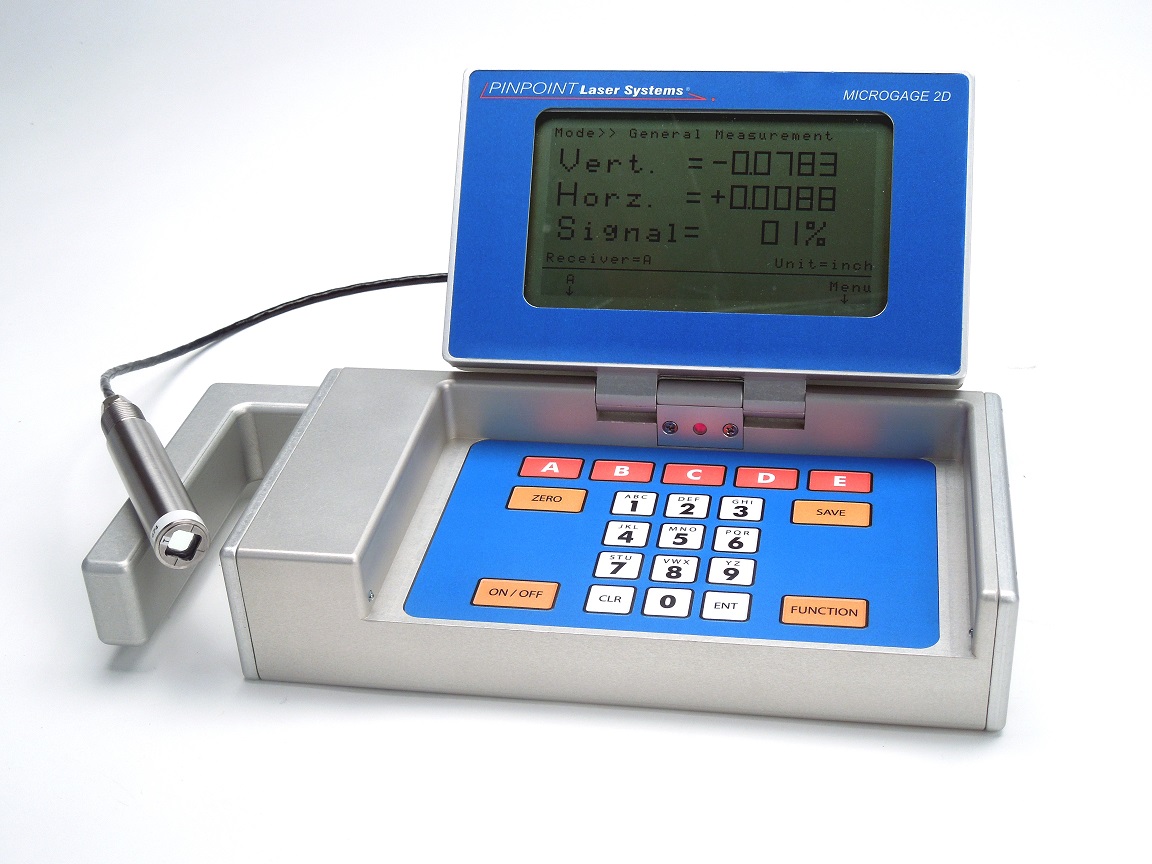
Pinpoint Laser Systems recommended was a Dual Axis Laser Microgage with a modified laser transmitter and receiver that could accommodate gun barrel and confined breech area.
The laser transmitter was modified so that its housing resembled a shell that could be loaded into the breach assembly area. As with most Pinpoint Laser Systems transmitters, this unit was battery-powered so that cabling would not encumber the closing of the breech area.
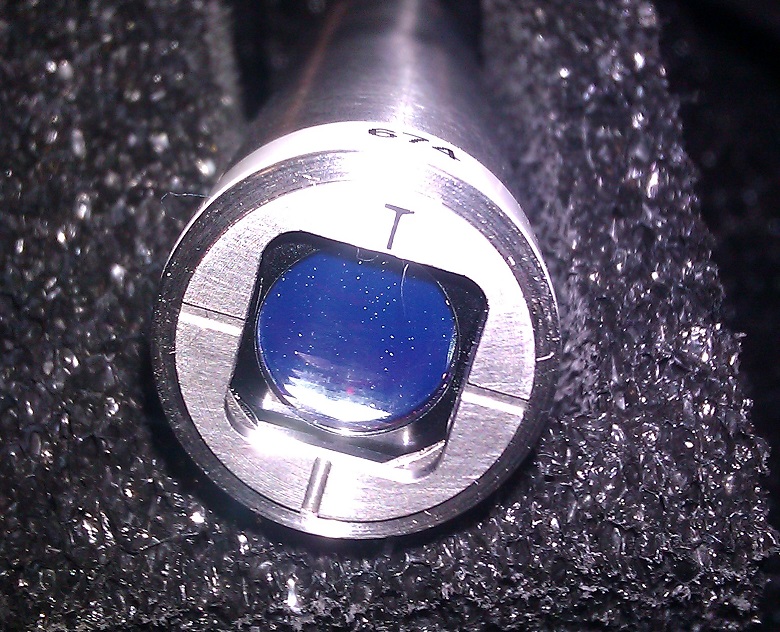
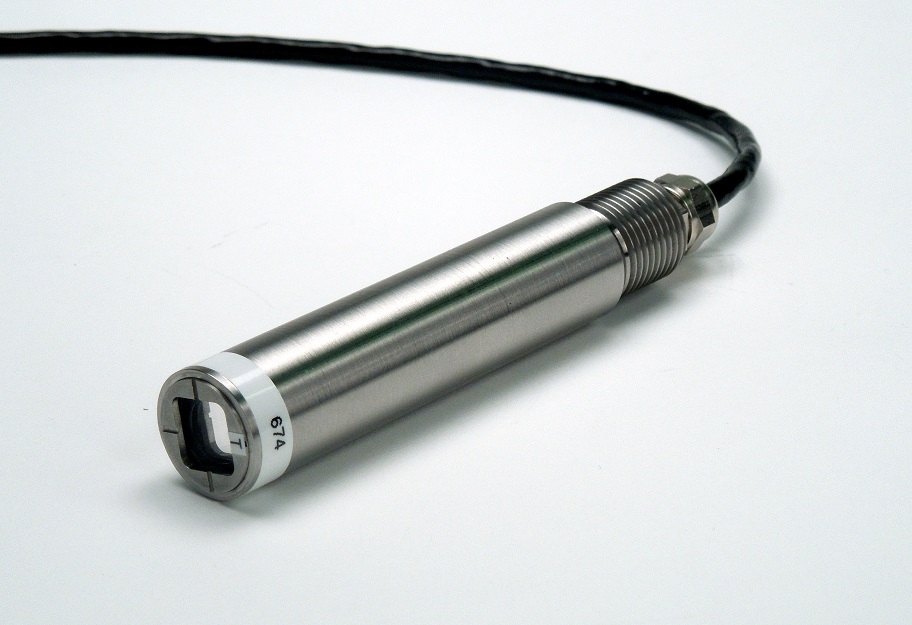
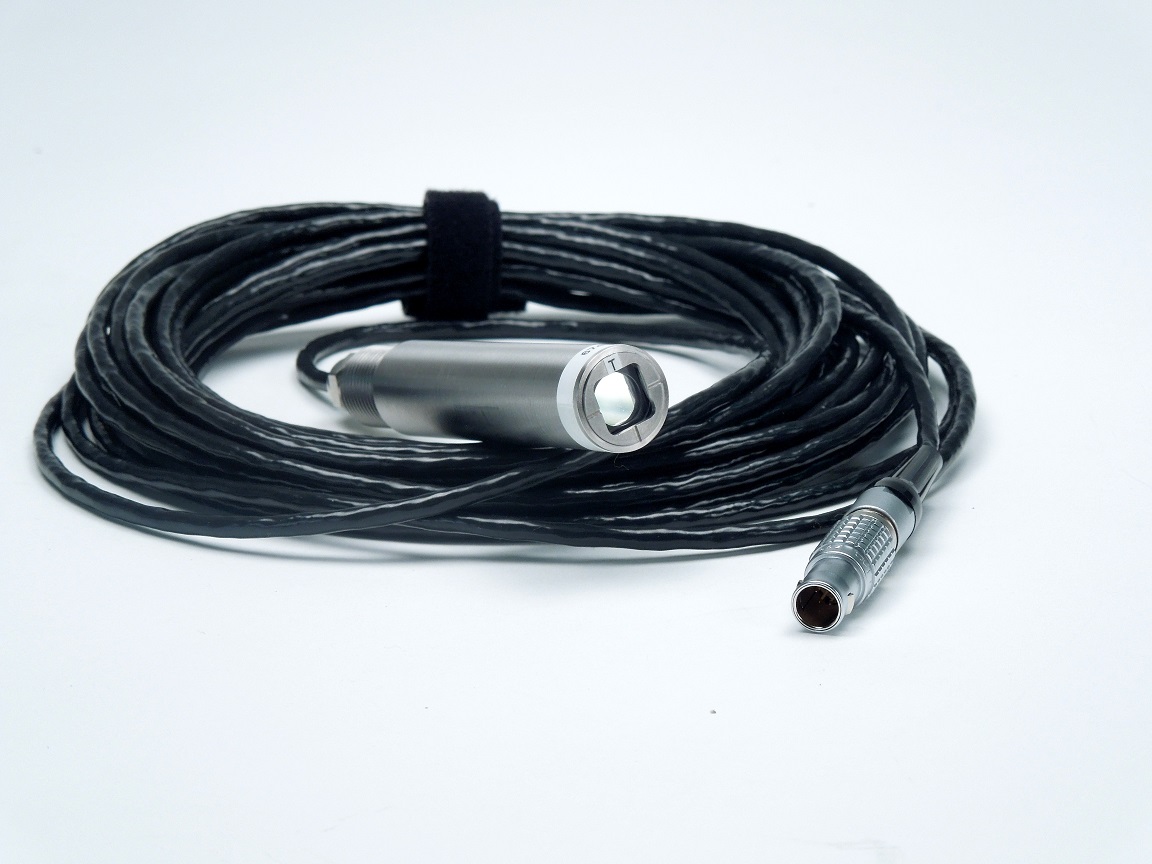
The Microgage Dual Axis Receiver was reduced in size and diameter so that it would fit into a fixture that could move up and down the length of the barrel. The receiver had a connecting cable providing power and data transfer and became a useful means of moving the receiver through the length of the barrel.
The measurement process involved inserting the laser transmitter into the breach and closing the locking mechanisms as if a real shell were in place. The transmitter would project a precise red reference beam up through the length of the barrel along its center line as defined by the shell casing mount inside the breach area.
The Microgage Receiver, which was mounted in a cylindrical fixture for the barrel, was then moved down the length of the barrel and successive readings taken. If the barrel was bent or had internally damaged features the dual axis receiver would move off the center line, relative to the laser reference beam, and an XY reading would be noted.
In this way the lengths of the gun barrel could be profiled precisely and quickly. The Laser Microgage was connected to a laptop computer running Pinpoint Capture and readings were recorded in an Excel Spreadsheet. These measurement results could then be checked for linearity, run out, and other deviations.
The Laser Microgage System by Pinpont Laser Systems is quick and easy to install on the gun assembly and could be used in the field after test firing. The system could also be used over long test periods, recording information through Pinpoint Capture into an excel spreadsheet, to monitor expansion and distortion as a function of temperature and other environmental conditions.
Overall, the Laser Microgage proved to be highly adaptable to this gun barrel alignment application and provided useful information to help future designs.


