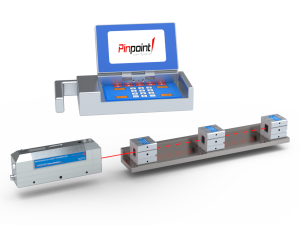
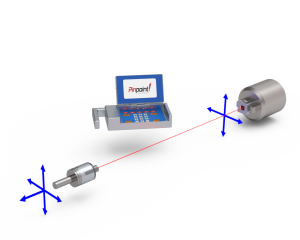
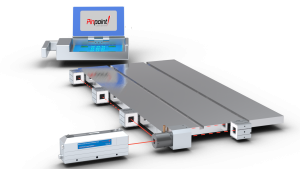
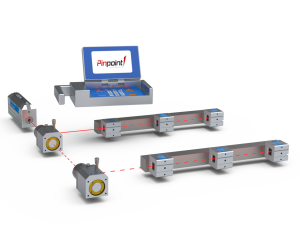
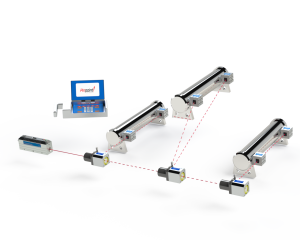
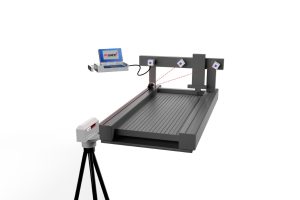
The Microgage 2D laser alignment tool can be adapted to a wide variety of industrial measuring and alignment requirements. Each receiver measures in two axial directions (X & Y) and can be used for checking straightness, flatness, parallelism, squareness, bores, spindles, and other alignment needs.
How It Works
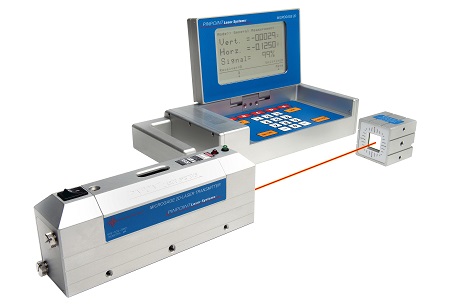
Capture precise measurements as small as 0.0001 inch (2.5 micron). The easy to use Microgage 2D laser transmitter and electrical receiver can be separated by a few inches up to 150 feet for large industrial projects. A highly collimated, low power laser beam is projected from the end of the laser housing. The electronic receiver picks up the laser beam allowing the display to provide a digital readout showing the height and lateral position of the laser beam. If the laser transmitter and receiver are resting on a common flat surface, the display will read zero. If the transmitter or the receiver is then raised off the surface, or moved side to side, the differential position will then be displayed. Combining the laser and receiver with various optics and mounting accessories allows the Microgage laser alignment tool to measure all sorts of two dimensional alignment parameters.
The Microgage 2D begins with a basic laser alignment kit that is compact, versatile and easy to use. Adding various precision alignment accessories and attachments expands the capabilities of the Microgage 2D to address virtually any industrial measuring and alignment application.
2D Display
- Large LCD readout
- The digital data of the laser’s position will read “0” for height & lateral readings if laser & receiver rest on the same plane & against a straight guide rail.
- If the receiver is moved, the measurement readings will change accordingly.
- On-board microprocessor stores up to one thousand measurement readings.
- Durable enclosure
- Runs on two C batteries (20 hour run time).
Digital Receiver
- Compact optical receiver
- Available in 1-inch, 0.75-inches, 0.5-inches, and 3 inches
- Machined from durable aluminum
- Convenient built-in mounting points
- Built to withstand years of industrial use
2D Applications
- Measures most machine geometries
- Straightness, Flatness, Parallelism, Squareness, Bores, Spindles, and many others.
- Equipment installations, repair, maintenance applications, and much more.
Capture™ Software
- Capture™ will work and can be purchased to use with the Microgage 2D.
- Capture™ is our Windows-based, proprietary alignment software.
- Displays readings in large numerals and with graphical X/Y and moving chart plot.
- Provides real-time measurement data in a customizable Excel format.
- Analyzes industrial equipment and production machinery performance and alignment.
- Works with up to 8 receivers.
- Pre-installed routines and built-in instructions allow Capture™ to interface seamlessly with other packages and programs.
2D Components
- 3 primary components: Laser transmitter, receiver & display
-
- Specific application components:
- 90 Line Beam Benders
- Cylindrical Lasers
- Transparent Receivers
- 4 Axis Receivers
- Wireless Receivers
2D Customization
- Custom receiver housing units
- Laser housings
- Laser light sources
- OEM sub-systems
- Software
Support
The Microgage 2D is highly precise and powerful yet easy to use. The laser system includes user instructions and an owner’s manual. However, it’s Pinpoint’s technical support team that has taken this alignment tool to a new level. Help is available to any member of your team – for free! Contact our engineers when and if you need it.

