About Parallelism
Product # – 2D-PL42
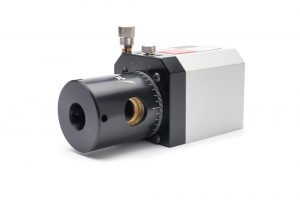
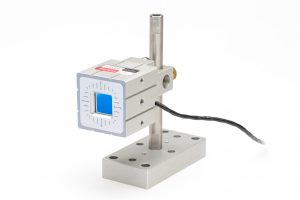
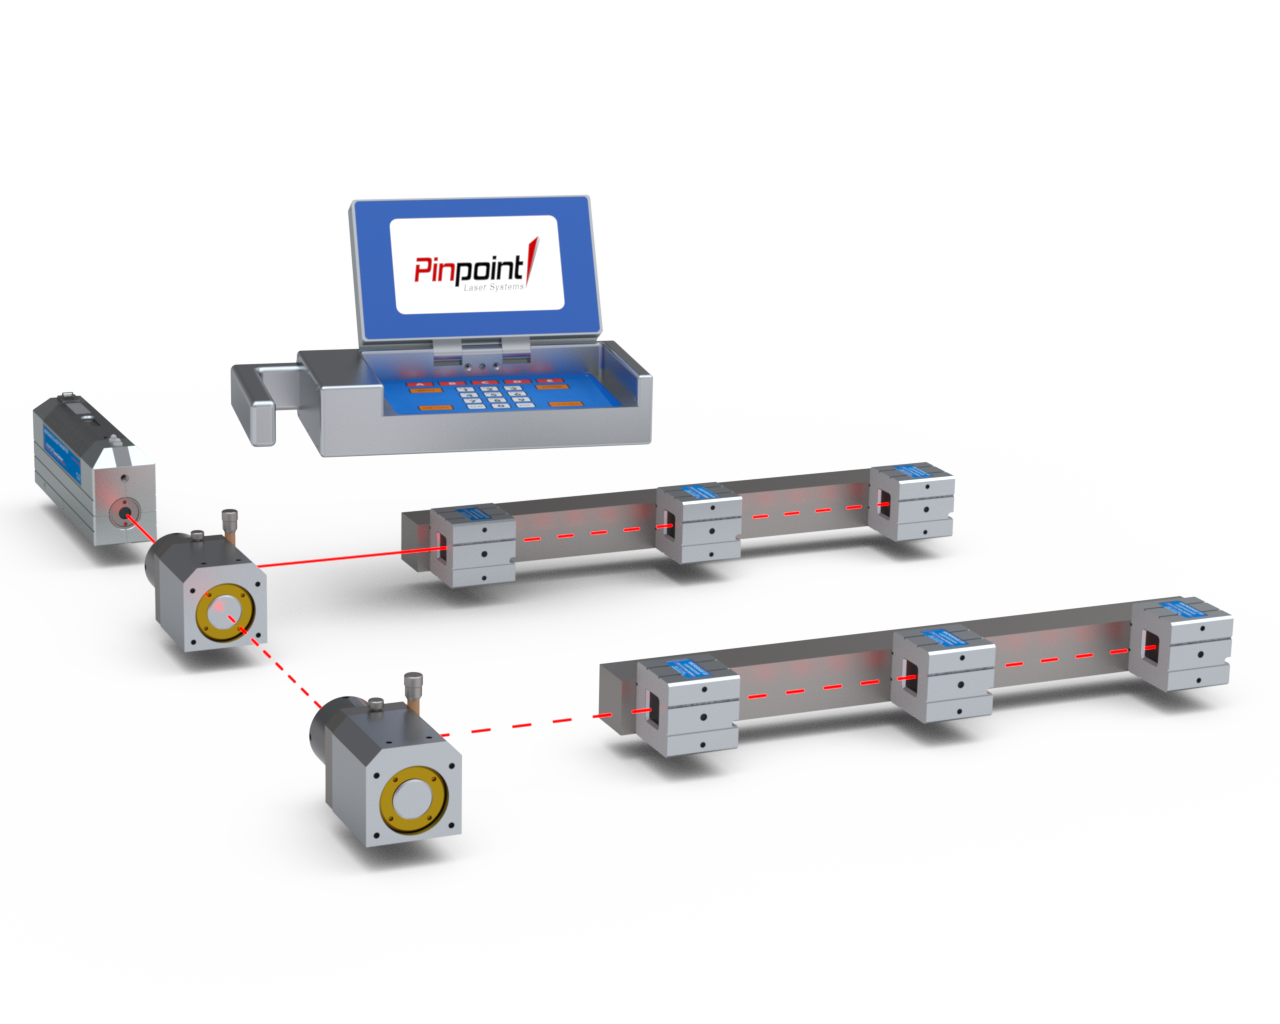
The 2D Parallel Kit comes with a 90-Line beam redirector which utilizes an internal optical element called a penta-prism that reflects the laser at precisely 90 degrees to the incoming laser beam. For parallelism measurements, the 90-Line is moved sequentially along the laser path to create multiple reference lines, or planes, that are each square to the original laser reference line and parallel to each other. Along each of these individual square reference lines, the Microgage receiver takes a series of readings to see how that surface, shaft, track, or object is positioned relative to the square laser reference beam. The 90-Line is then moved to a new position, creating another square laser line, parallel to the last line, which measures the position of the next track, shaft, or surface.
Parallelism Details
- 2D LCD Display Unit
- Ruggedized, all aluminum flip top display unit
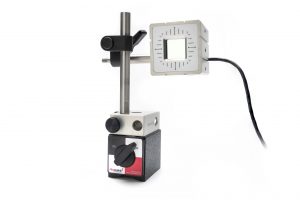
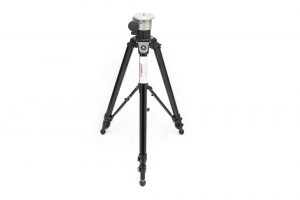
- Precision Tripod Mount
- Pinpoint Capture™ Software
- Measure distances from a few inches up to 150 feet
- Precise down to 0.0001 inch (depending on application)
- Quick return on investment
- Intuitive set up and use
- Improves efficiency and expands in-house capabilities
- Removes guesswork for alignment or measurement
- Minimizes machine downtime
- Supports preventative maintenance efforts
- Eliminates need for outside alignment contractors
- Reduces machinery installation costs
- Measuring and aligning rollers and web handling systems
- Aligning precision tracks and guide rails
- Installing gantry slides and router assemblies
- Checking and aligning pallet loaders
- Align unwind and take up roll sections
- Measuring parallel edges
- Aligning sprocket and drive systems
- Checking columns on injection molding machines
Measuring System
Specifications
Measurement resolution
0.0001″ (2.5 micron)
Measurement accuracy
± 0.0002″ or 1% of measurement (5 micron)
Operating distance
6” to 180”
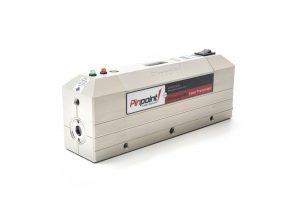
Laser Transmitter*
Specifications
Laser accuracy
≤ 2 arc-seconds
Laser level
10 arc-second, machinist grade
Laser source
laser diode, 636Nm, < 1mW
Laser repeatability
<1 arc-second
Laser dimensions
4.3” L x 2.6” D x 8.1”C
Laser housing
solid machined aluminum, hard anodized coating
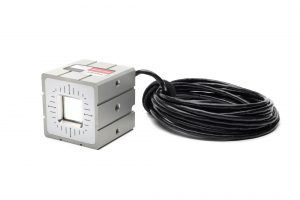
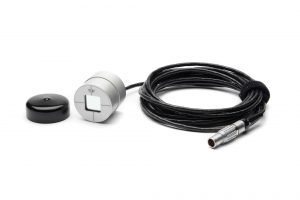
Receiver*
Specifications
Active detection area
(0.75″ x 0.75″ 19mm x 19mm)
Receiver housing
solid machined aluminum & hard anodized coating
Receiver dimensions
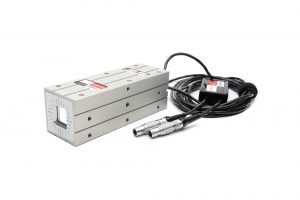
2.0” x 2.0” x. 20”
Smart Display
Specifications
Display configuration
hand-held, portable, self-contained
Resolution
0.0001″ (2.5 micron)
Units
inch, mm, mils, custom
Display
Monochrome Display
Controls
keypad
Storage
data readings up to a 1,000
Housing
solid machined aluminum, hard anodized coating

