Maintaining precise machinery alignment is crucial for optimizing production processes and ensuring high-quality output. Proper alignment reduces stress and friction among components minimizing wear and potential damage. Additionally, it decreases the likelihood of expensive machine failures and minimizes hazards for workers. Industry sources report that 50% of machine failures are attributed to misalignment.
Machine alignment should consider all axes of machine motion. Both straightness and squareness ensure the correct geometry of a machine. While straightness is important to ensure the machine follows a defined linear path for smooth operations, squareness or perpendicularity ensures the proper alignment of moving or working machine components. Squareness refers to the perpendicularity of two surfaces or moving operations.
Perpendicularity of Machine Components
Accurate perpendicular alignment ensures the seamless integration of machine elements for enhanced performance and reduced error in mechanical systems. For example, the squareness between moving tables, slides or tools is crucial for producing precision parts to prescribed specifications. Tramming or adjusting the squareness of a milling head of a CNC router involves squaring the Z-axis motor so it is perpendicular to a level router table in both the X and Y axes to get the highest accuracy for cutting parts.1
Laser Alignment Fastest Method
Dial gauges coupled on jigs and fixtures and visual checking of machine squareness are time-consuming and error-prone as it requires taking measurements at various locations and making complicated calculations. A laser alignment system provides a faster, easier, quantitative and more precise method of measuring the squareness of machines of different sizes.
Measuring Squareness & Perpendicularity
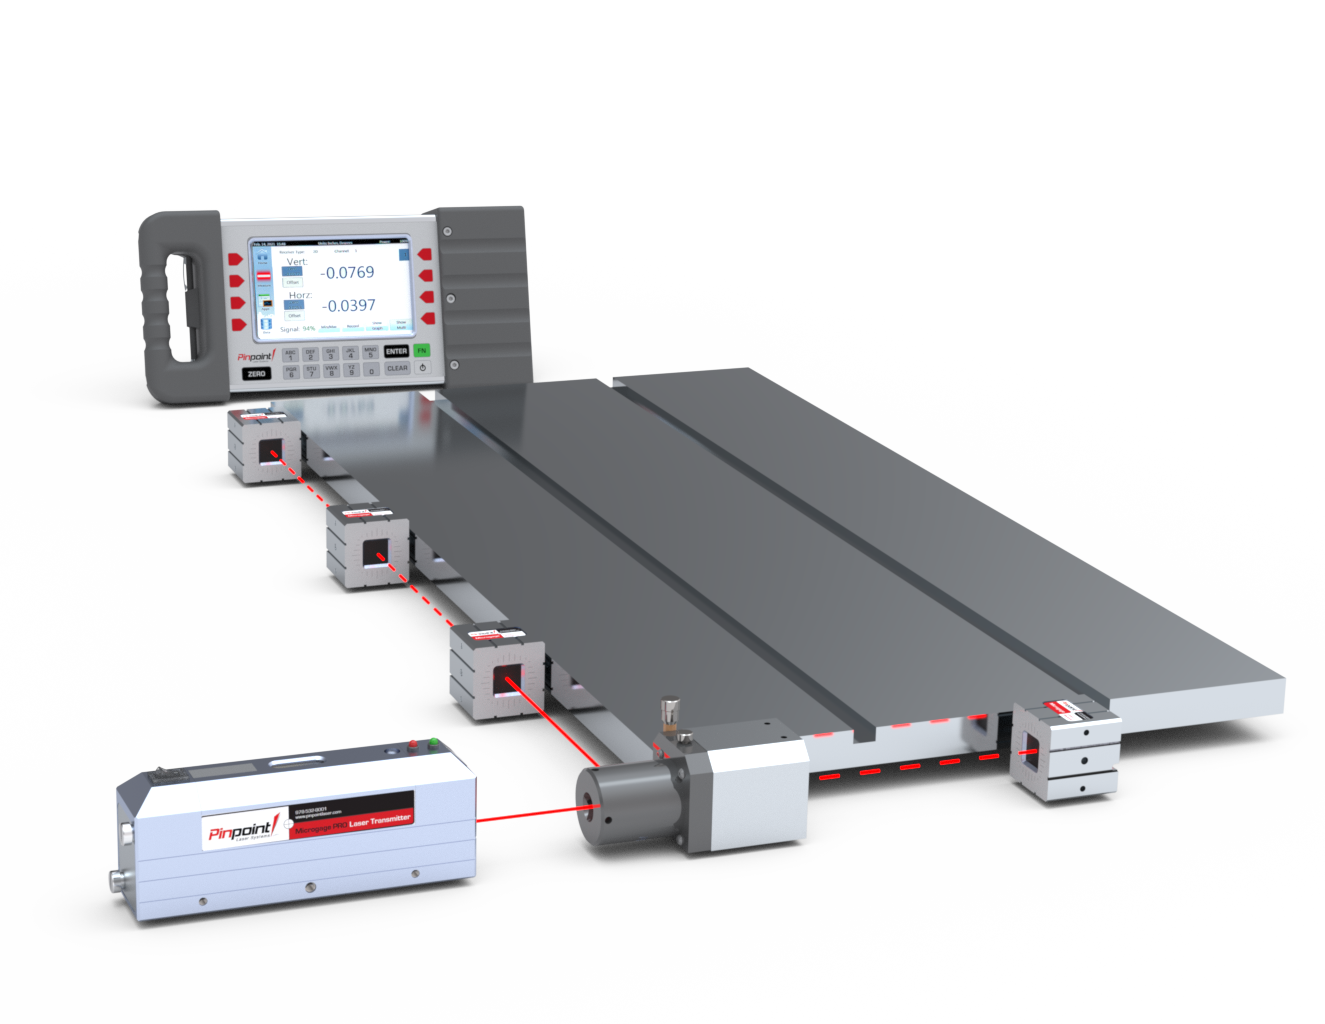
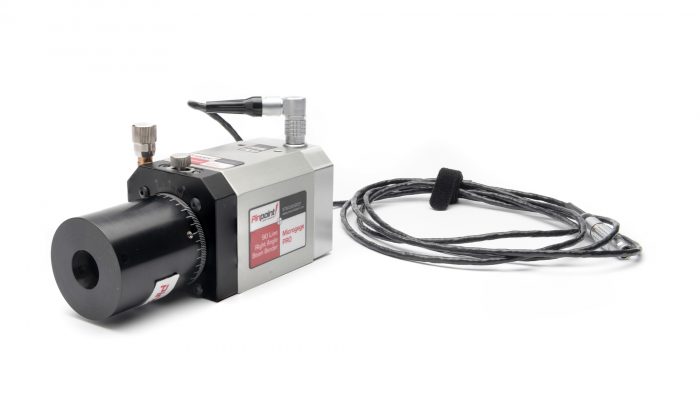
The laser alignment system uses a transmitter to produce a laser reference beam that is used along the edge or axis of a machine. To measure squareness, a 90-Line, an accessory containing an optical penta prism, is placed into the laser beam path to redirect it at the right angle. Several 90-Lines can be combined to redirect the laser around an alignment area.
Get the Right Output
The right-angle reference line can be used to check the orientation and travel of a square machine axis. Placed at several points along the square axis, the receiver picks up the incoming 90 laser beam and takes a series of readings to determine the squareness of the machine axes.
A display integrated with the receiver can provide readings and computations. Data also can be downloaded to a laptop for further analysis that uses specialized software to perform computations that show the squareness of the axes or components of the machine.
Squareness Applications
Laser alignment systems can be used to measure squareness for various applications including aligning the X-Y-Z axes of machine tools, aligning gears and sheaves, checking parallelism of tracks and assemblies, aligning gantry rails and cross bridges, squaring machine guides and pallet loaders, adjusting moving actuators and drilling systems, squaring stacked linear stages, adjusting slitters, idlers, and rollers and squaring cross-cutting systems and guides.
The use of laser alignment provides manufacturing companies with the ability to quickly and accurately measure squareness and other parameters to properly align production equipment before, during and after processes.


