 Parallel measurements are important for a number of alignment projects. Working with precision rails and tracks, gantry systems, forming lines, and web and roll process lines to name a few. A good laser alignment system built with versatility and precision can be mounted and moved to capture the most precise parallel measurements. So then, the question is not if parallel alignment is important or if high precise alignment is achievable. The question is, “How would my team check for parallelism?”
The trickiest part about checking for parallelism is tailoring the measurement and alignment process to each machine or production line. Let’s start with the basics first though. When you are comfortable and really know your equipment you can hypothesize where the misalignments exist. The next step is to gain an understanding of the alignment tool that you will be using. Cumbersome and awkward measurement tools aside (levels, piano wire and other non-precision based measurement tools) an alignment system has to be reliable and provide quality data that gives the user information that is easy to work with. A professional grade laser alignment system provides this and more and here’s how:
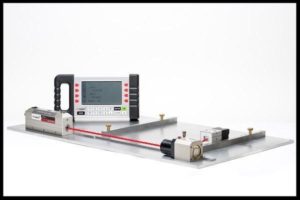
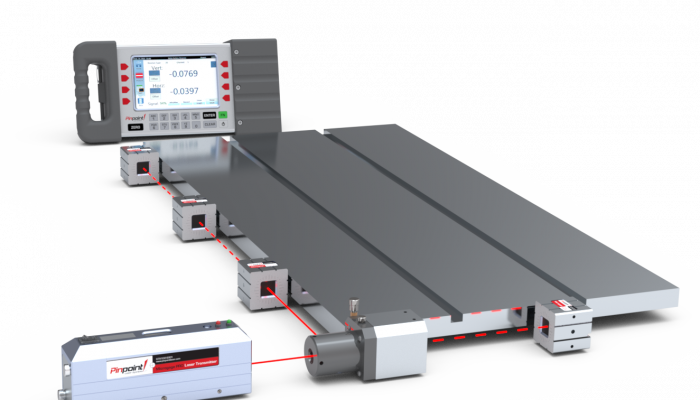
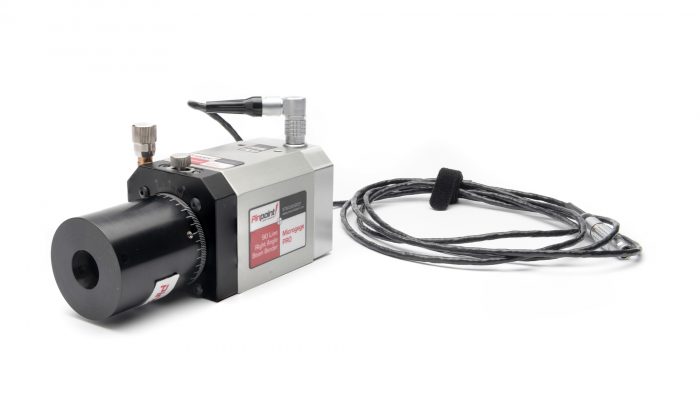
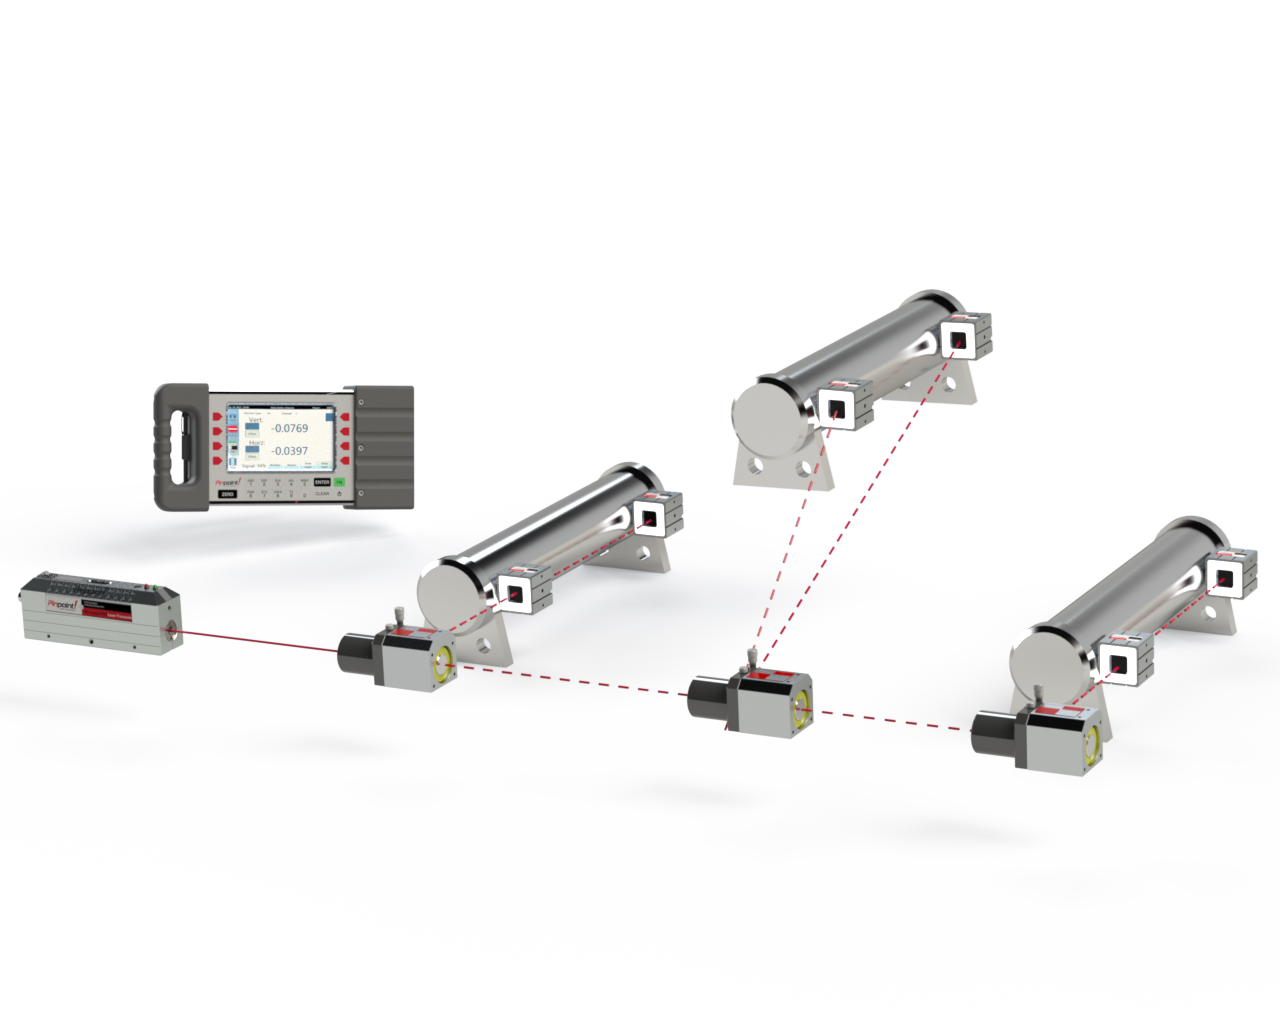
A laser transmitter is positioned or mounted along the side of the production line or machine being checked or adjusted. After positioning and adjusting the laser transmitter and its straight laser reference line, an optical device like the 90-Line is moved along the laser beam path to each location where a measurement is needed. The 90-Line redirects the laser reference beam in a precise 90-degree beam – the internal penta-prism forms the precise square line each time for all your set-ups. Moving the 90-Line in sequential order along the path of the laser will create several planes (also known as reference lines) that are square to the original laser reference beam and parallel to each other.
To put this example into context, think of a web or roll line. The rolls in a system must be kept parallel for the correct handling of the product traveling thru the machine. Parallelism is measured in the horizontal and vertical directions – the vertical is checked with a level, a laser, or a special device like Pinpoint’s Roll Adjuster. The horizontal parallelism check is best done with a laser. Typically, a master roll is selected and measured first but rolls can be measured individually and compared later as well. At each roll location, the 90-Line is moved into position so that a right angle laser reference beam passes along the side face of the roll surface. A laser receiver is then placed against the roll surface and a reading taken in two places along the face of the roll.
The difference between these two readings indicates the horizontal alignment or “squareness” of the roll to the laser reference line. For comparison, this simple process is repeated for other rolls and the difference values are compared. If the values are all the same, the horizontal alignment of the rolls is all in agreement. If the difference values, between rolls, are not the same then horizontal alignment adjustments may be needed – the laser alignment system can help with this as well. This same approach is well suited for checking parallel tracks and guide rails, and other assemblies and structures where parallelism is needed.
In addition to parallel measurements, laser alignment systems are used to measure straight, flat and level applications. The alignment system’s strengths are checking alignment over distances up to 180 feet (55 meters) while being as precise as 0.0005 inch (12 microns). The software included with the alignment systems make for easy and convenient measurement data follow-up steps. Laser alignment systems are versatile and can be used on many machines and systems. As always, Pinpoint Laser Systems technical support comes with the purchase of every laser alignment system. Call Pinpoint today to learn more (978) 532-8001.


