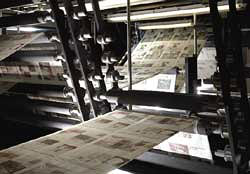
 Paper mills, steel mills, printing operations, precision foil operations and others often rely on web and roller processes to transport their product through various stages of the production process. Alignment of these rollers and guide systems is often crucial to keep product running smoothly and the production process on schedule.
Aligning these rollers becomes cumbersome because they are often separated by significant distances and it is hard to reference one roller assembly to another. Traditionally, maintenance people and others have used wire, transits, long straight-edges, guesswork and other complex means to verify the orientation and alignment of their web and roller systems. The problem becomes more complex when roller alignments of 0.001 inch are required. For these simple reasons, the Microgage product line has become a popular tool for checking and realigning roller assemblies in mills and related applications.
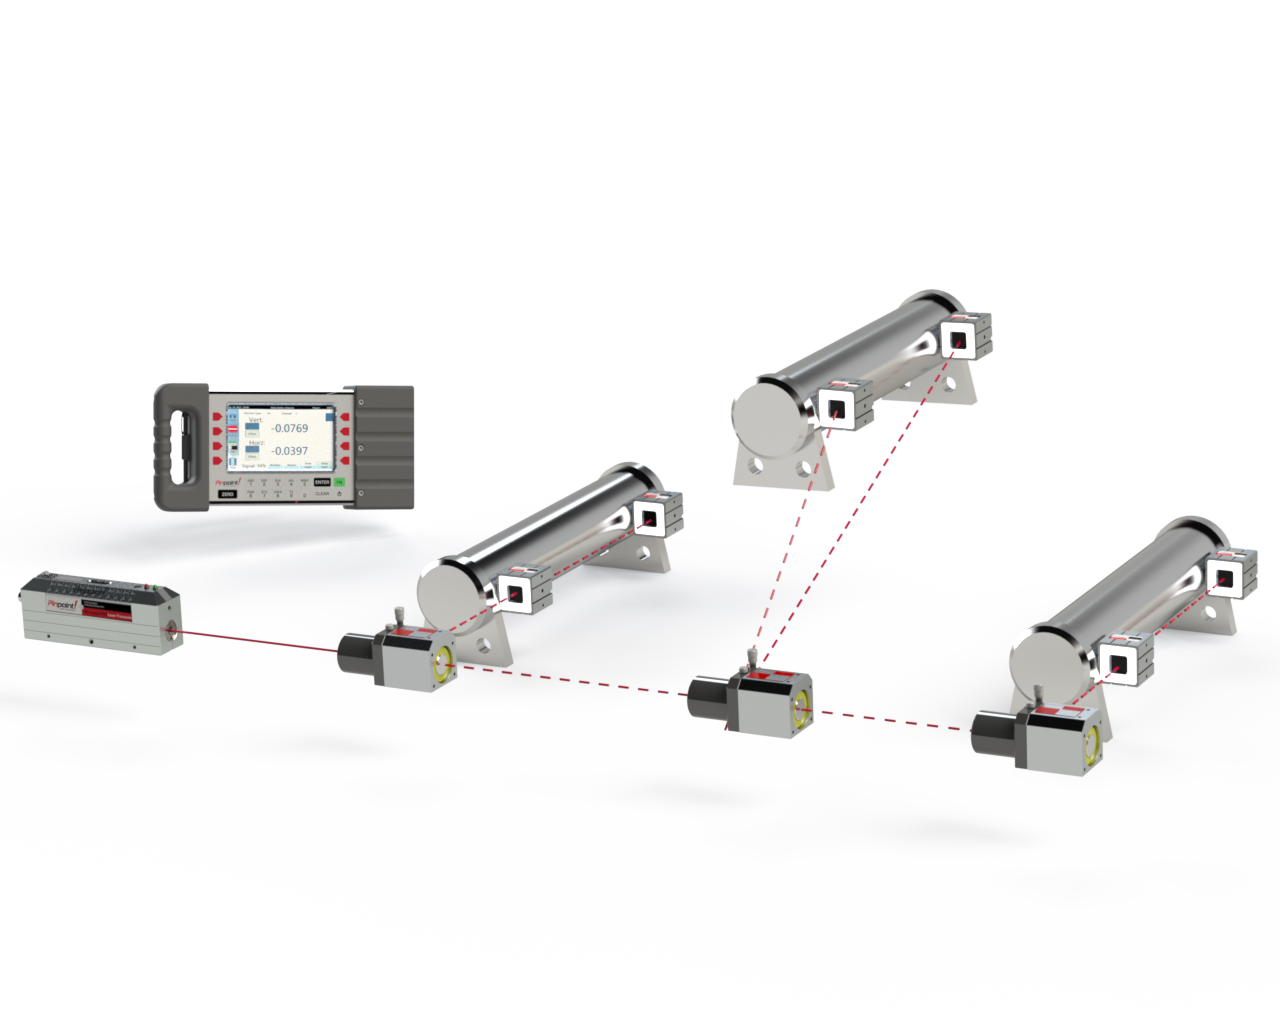
Combined with the 90-Line (right angle splitter) and the Leveler Brake (a precision flatness plate), the Pinpoint Microgage will determine the parallelism of associated rollers along the web path and the in-plane position of the rollers as well.
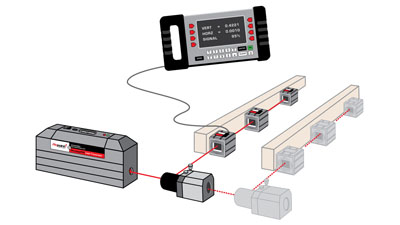
Parallelism is established by positioning the laser along the side of the web line so that the laser beam projects down a path that is parallel to the flow of material through the process. Inserting the 90-Line into the beam path provides a secondary beam of laser light that can be aimed across the face of the roller. The receiver is then placed on the roller for the first measurement nearest to the laser and followed by a measurement at the far end of the roller. The difference between these two measurement values shows the relative position of the laser path to the face of the roller.
Now the 90-Line beam bender is moved down the laser path for the next roller – the design of the 90-Line compensates for repositioning and continues to provide a secondary beam of light parallel to the last beam passing down the face of the first roller. Again, a pair of measurements are made at the near and far ends of the roller. The difference between this second pair of readings describes the orientation of the second roller. If both rollers are parallel, these difference readings will be equal. If the values differ, the rollers are out of parallel by the amount of the difference. Corrections can be made to each roller so that the difference values match and the rollers are again parallel. As with the first pair of rollers, subsequent rollers can be measured and corrected by again comparing the difference between the near and far readings on each roller face with the difference readings from other companion rollers.
The planer measurement is made by placing the laser on the Leveler Brake and adjusting the Leveler Brake so that the plane of the laser beam is parallel with the desired plane of the web surface. By swinging the laser from side to side the beam can be aimed to the edge of each roller allowing for a measurement at that point. Once again, by comparing the measurements from one side of the roller to the other the user can determine if each roller is in plane with the rest.
The Pinpoint Microgage system can adapt to roller and web systems with rollers at different elevations and in cases where the path of the web process may not be level. For more information on roll alignment or to find out how a laser alignment system can help with your application, contact Pinpoint Laser Systems at info@pinpointlaser.com or (978) 532-8001.


