Many machine tools rely on the squareness or perpendicularity between moving tables, slides, or tools in order to produce parts that are square. If machinery isn’t squared properly, it will negatively impact the quality of the parts being produced. Traditionally, the squareness of machine tools is checked by relying on granite squares or jigs and fixtures coupled with precise dial indicators however this approach can be cumbersome and time consuming. There are also electronic devices that can check machine travel and squareness over very small areas but these technologies are limited when trying to work with larger machines. Measuring squareness on machinery is much easier, faster, and more precise using a laser alignment system.
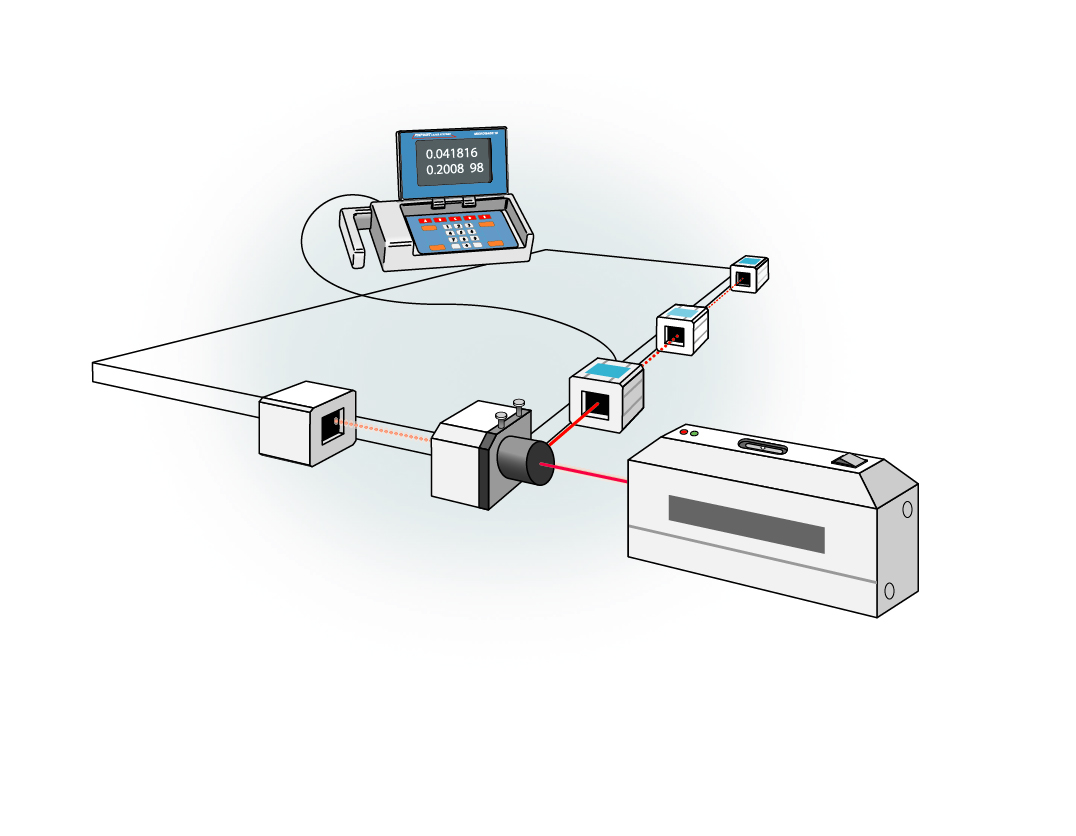
Using laser alignment equipment to measure squareness, the laser reference beam is projected down the length of one axis on a machine tool. The digital receiver measures the precise X-Y position of the laser beam to the machine table and  the readings are used to guide the position of the laser beam until the readings on the table are equal to each other at two defined locations. The laser reference beam is now parallel to the travel of the slide table and a right angle optic is placed into the laser beam.
This 90-Line redirects the laser beam at a precise right angle from the original laser beam and forms a reference beam for checking alignment and taking measurements. Placing the 90-Line on the machine table or slide, in the path of the laser beam, creates a new right angle reference line that can be used to check the orientation and travel of other square machine axes. The nosepiece of the 90-Line, and the right angle laser beam projected from it, can be turned through a full 360 degree rotation to define flat reference plane. The square exiting beam forms a plane of light, which is precisely square to the incoming laser reference beam. Several 90-Lines can be used in combination to redirect the laser around an alignment area. Moving the laser receiver along the square axis and taking readings will tell you if the two machine axes are square to one another. If they are not square, you will know what corrections are needed. The 90-Line can check machine tools axes that lie in the same horizontal or vertical planes. Squareness measurements can be made over distances of 100 feet or more for checking large machines and gantries.
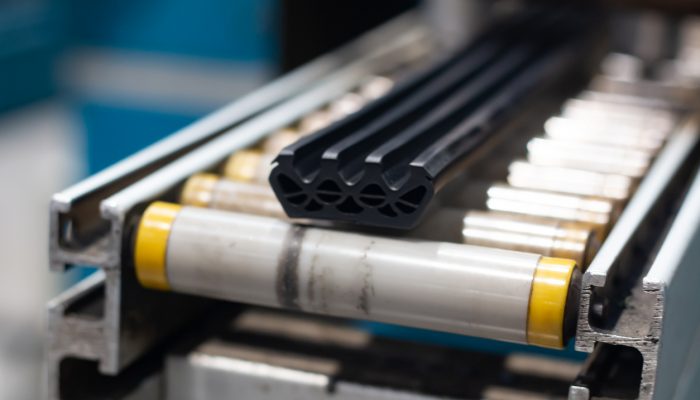
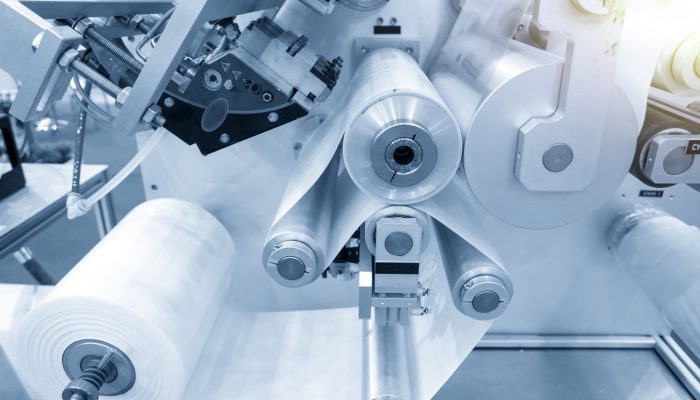
Squareness measurement applications using laser alignment equipment include aligning the X-Y-Z axes of machine tools, gear and sheave alignment, checking parallelism of tracks and assemblies, aligning gantry rails and cross bridges, squaring machine guides and pallet loaders, adjusting moving actuators and drilling systems, squaring stacked linear stages, adjusting slitters, idlers, and rollers, squaring cross cutting systems and guides, and many other geometric alignment needs.
Using a laser alignment system expands the squareness and geometric measuring capabilities of manufacturing companies and allows companies to align and repair their own production equipment.


