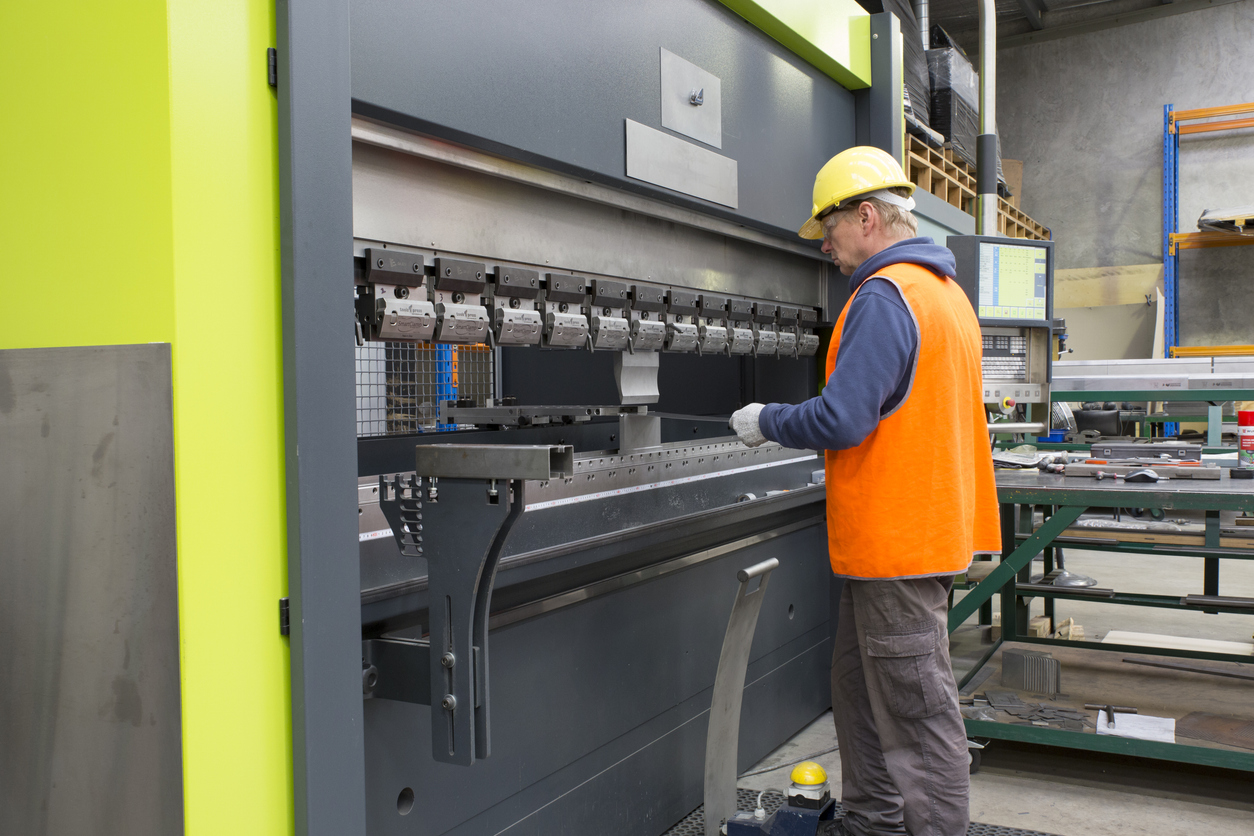
Keeping machines level, straight, and flat throughout their operational life is imperative to maintaining manufacturing excellence. Balanced machine tables, beds, rails, tools, bases, and shafts ensure machines operate within required tolerances, preventing process errors and mechanical stress that can lead to damaged goods and assets.

Laser Alignment Balances Machines
Machine leveling and straightness should commence with installation and continue with periodic checks as part of regular maintenance and inspections. A machine bed may initially be straight, flat, or level, but could shift on its mounts over time, or the floor could have settled.
Level is typically measured with a bubble-level device positioned on a flat surface. Machinist levels are traditionally used for checking machine straightness and flatness, but many have low sensitivity and require manual intervention.
A laser alignment system can determine if machines are straight, flat, and balanced in a horizontal or vertical plane across different axes with exceptional reliability. When leveling machinery, a transmitter projects an ultra-flat plane of laser light over large distances. A receiver reads the laser beam position and can display output on a digital readout or download information into a computer for storage and analysis.
When using the bubble level option, it is important to align or level any project to gravity. Ensure the laser is level to gravity within 10 arc-seconds. However, if aligning something with a slope, the bubble level is no longer effective, and two laser datum points may need to be used.
Leveling the Laser
To obtain the highest leveling accuracy, laser alignment systems must be level to take measurements, especially when they must be positioned without a flat surface to support them. Different mounts may be available from a provider to help establish a flat plane.
Pinpoint offers two options for leveling its laser alignment systems:
• A 4-axis Precision Mount supports Microgage lasers on a flat and level plane. Attached to a tripod or bolted directly to a machine, the mount provides four axes of control: vertical, horizontal, and two angular axes of pitch and yaw. Tight positioning is achievable up to 150 feet.
• A Leveler Rotational Mount sets a flat reference plane for the laser with an accuracy of <0.001” at a range of twelve feet. When attached to the mount, the laser can turn through a complete rotation to define a flat plane of laser light or be adjusted to an exact plane, which can parallel an existing surface or be adjusted to level.
The use of the bubble level on the laser transmitter creates a flat, horizontal plane in minutes. The laser is rotated between the 12:00 and 6:00 positions until the bubble adjusts to the center. This process is repeated for the 3:00 and 9:00 positions to ensure that the plane of laser light is level. Once established, the receiver is moved to a position, and the laser is swung to meet it for each measurement.
The lasers and mounts can be used to:
- • Level long test systems and tanks
- • Level machine beds and cutting tools
- • General machinery leveling
- • Check machine flatness and runout
- • Measure table and slide linearity
- • Position equipment and machinery
Laser alignment systems offer a precise method of measuring and aligning machines to manufacturing specifications. Precision laser leveling makes a difference in results.


