Industrial plant machinery must be well aligned in order to produce high quality products. If industrial equipment and machinery are not properly aligned, the output may be negatively impacted. Traditional methods of alignment including the use of straight edges, piano wire, dial indicators, and line of sight do not provide the precision of laser alignment technology. In addition, machinery problems can be diagnosed and fixed by in-house personnel without the reliance on outside service contractors. Laser measurement tools help solve manufacturing problems, improve manufacturing efficiency, reduce downtime, and increase profitability.
Laser alignment tools are used to measure many industrial applications. Examples include:
Straightness
To measure straightness, the laser transmitter is set up to project a straight reference beam that passes over or along the surface to be measured. The receiver is then placed along the corresponding surface, track, rail, shaft or item to be checked. The system display will show the deviation of the receiver position in relation to the laser reference beam in a digital readout. Taking multiple linear measurements will provide a profile of the surface.
Flatness
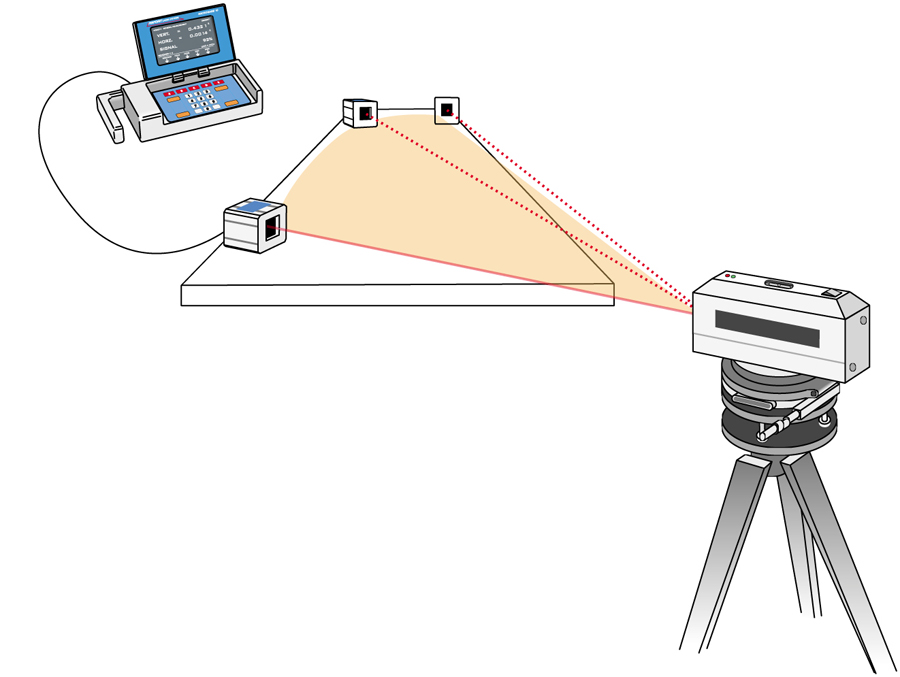
To measure flatness, the laser is secured onto a precision rotating base. The laser beam can then be rotated over the surface to be measured. The rotating base is then adjusted until it provides a parallel plane of laser light over the surface to be measured. This process defines a flat plane of laser light for measuring surface flatness and aligning components and assemblies in a precise plane. The digital receiver can then be moved to various locations to provide an accurate measure of surface height and profile.
Squareness & Perpendicularity
To measure squareness and perpendicularity, the laser reference beam is redirected with an optical device called a 90-Line Beam Bender. By redirecting the laser beam at precisely 90 degrees from the original established path, squareness or perpendicularity measurements and alignments are possible. The nose piece of the 90-Line can also be rotated a full 360-degrees to measure surfaces that may be at different heights than the pre-established reference surface.
Parallelism
To measure parallelism, the 90-Line is positioned in different locations along the laser path to redirect the laser beam to the surfaces being measured. Comparing your readings for each surface tells you precisely if the surfaces are out of parallel, by how much, and in which direction.
Runout
To measure runout on equipment and machine tools, the laser beam is first set up to form a straight reference line that is aligned to the machine’s axis of travel. The receiver is secured to the moving component being measured, so that it can then be carried along the travel path. Readings are taken at specific points along the travel of the moving component and runout and position variations are digitally displayed.


