Straightness
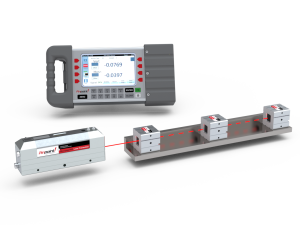
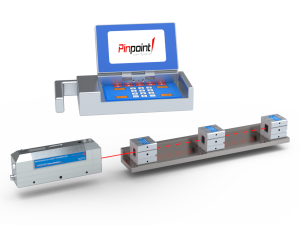
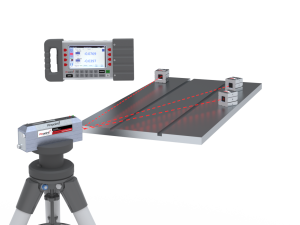
Microgage PRO works on a very simple principle: Laser light travels in a straight line. If you attach a laser transmitter to one assembly and a laser receiver to another, then the alignment of the two assemblies will equal the X/Y displacement of the laser beam at the receiver. And Microgage PRO measures all this with a precision of 0.0001 inch over distances of up to 180 feet. The Microgage PRO is specifically designed so users can handle virtually any alignment application, with set-up taking only minutes in most cases. It’s rugged and highly portable smart display includes two convenient handgrips, a bright, color touchscreen, a hardware keypad, and a powerful on-board microprocessor that communicates via wires or wirelessly with receivers.
Spindle
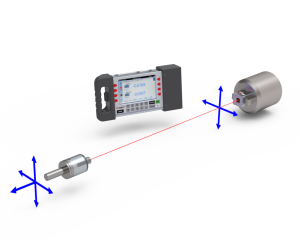
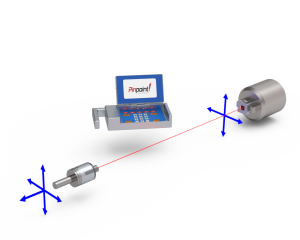
Pinpoint Spindle Alignment Kit can be adapted to a wide variety of industrial measuring and alignment applications. Each receiver measures in two axial directions, horizontal and vertical (X & Y), and can be inserted into collet chucks, bores and machinery for checking spindle straightness, parallelism, squareness, bores and other alignment needs. Measurements as small as 0.0001 inch are shown on a large, easy to use, display and the laser and receiver can be separated by a few inches up to 150 feet for large industrial projects.
Squareness
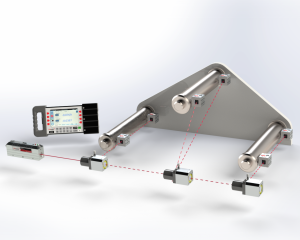
Microgage PRO works on a very simple principle: Laser light travels in a straight line. The Microgage PRO Squareness Kit comes with a 90-Line beam redirector which utilizes an internal optical element called a penta-prism that reflects the laser at precisely 90 degrees to the incoming laser beam. Squareness and perpendicularity measurements are made by first aligning the laser to a central machine axis or along a reference path and then redirecting the laser beam off at a right angle so that other assemblies can be positioned and aligned squarely to the original laser and machinery axis.
Parallelism
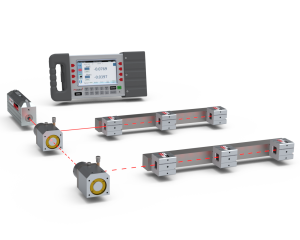
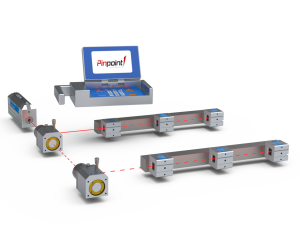
Pinpoint Laser Systems’ Parallel Kit comes with the Enhanced 90-Line beam redirector which utilizes an internal optical element called a penta-prism that reflects the laser at precisely 90 degrees to the incoming laser beam. For parallelism measurements, the 90- Line is moved sequentially along the laser path to create multiple reference lines, or planes, that are each square to the original laser reference line and parallel to each other. Along each of these individual square reference lines, the Microgage receiver takes a series of readings to see how that surface, shaft, track, or machine is positioned relative to the square laser reference beam. The 90-Line is then moved to a new position, creating another square laser line, parallel to the last line, which measures the position of the next track, shaft, or surface.
Flatness
Pinpoint Laser Systems’ flatness alignment kit provides precision measurement to ensure your project is smooth and even. The laser transmitter is placed onto a precision rotating base called the Leveler Rotational Mount which allows the laser to swing through a full circle and define a flat or lies on a , precise plane of laser light. This plane of light is flat to within 0.001 inch over a 24 foot diameter area. The Microgage receiver is then moved to various locations around this work area and the laser is aimed to the receiver to make a height or profile measurement at that location. The leveler can be adjusted with three precision adjustment screws and leveled to gravity if needed. It is convenient to mount in multiple areas. This is a very versatile part of any laser measuring system.
Roll
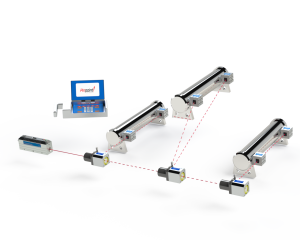
Pinpoint Laser Systems’ laser roll alignment kit provides precision alignment between paper mill rolls, metal forming equipment, multiple bearings along a shaft, machinery beds, and printing press rolls to name a few. The slightest misalignment can cause elements to work against one another resulting in mechanical wear, premature failures, and defective product. Utilizing the Pinpoint Laser Systems’ Roll Kit will ensure your equipment works in unison reducing maintenance costs and extending the life of your machinery while increasing quality throughput.
Gantry
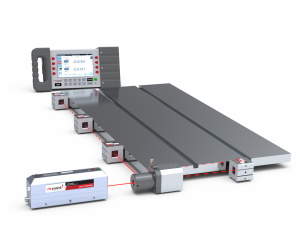
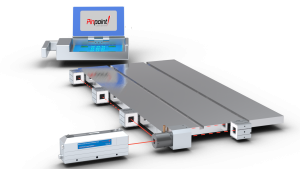
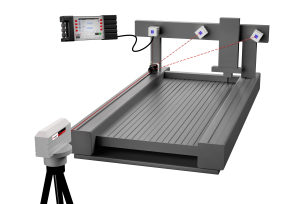
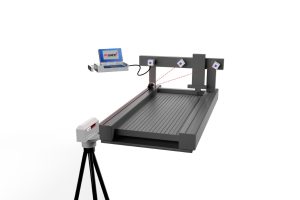
Pinpoint Laser Systems’ 3-axis Gantry Kit provides a powerful, cost-effective solution for aligning X-Y tables and multi-axis gantry systems. Compared to conventional methods, such as wire and cumbersome straight edges, the Gantry Kit can perform alignment checks much faster over greater distances and volumetric area. In addition, a laser delivers consistent, accurate data even when used by technicians with minimal training. It measures straightness, flatness, squareness, and level over longitudinal travel of 150’ and more. This kit provides a fast & easy method for achieving precision alignment of gantry applications. Its laser beam replaces the “piano wire” method that necessitates multiple personnel and produces questionable data. Use the measurement values directly to make machine adjustments, or upload your data to a PC for display and further computation.
Mud Pump
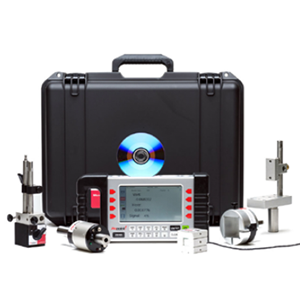
Pinpoint’s Mud Pump Alignment Kit has 3 main components, a laser transmitter, a digital receiver, and a display module. A highly collimated, low power laser beam is projected from the end of the laser housing and is aligned parallel to its mounting shank. The electronic receiver detects the laser beam and provides a digital readout showing the height and lateral position of the laser beam.
Propeller Shaft Alignment
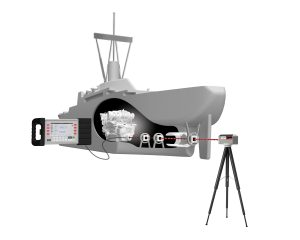
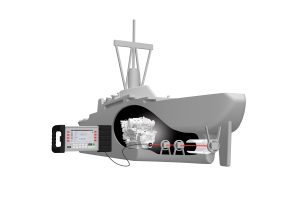
The precision, durability, versatility and compact size combine to create the ideal alignment and measurement system for the shipbuilding industry. With growing interest from shipbuilding enterprises for Pinpoint Laser Alignment products, we have created a unique system called the “Propeller Shaft Alignment Kit”, which answers many of the common applications in the industry.
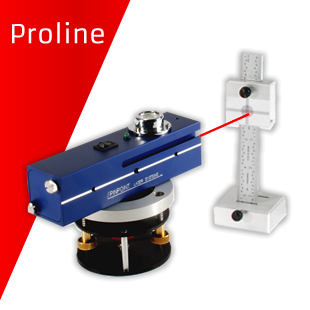
Pro-Line Laser Kit
Pinpoint Pro-Line Laser Kit combines the features of a transit, an infinitely long straightedge and a laser alignment system all in one compact, portable and versatile design. Precision laser alignment for production, maintenance and plant engineering projects, both large and small, has never been so easy. The Pro-Line Laser produces a crisp, collimated laser reference beam that forms a bulls-eye pattern for easy visual alignment and measuring.

