Microgage Checks Steel Hull Plates for Ships
Pinpoint was approached by a large military shipbuilding customer, in Maine, facing a problem of pre-fitting large steel hull plates prior to welding. The strength of the weld is determined by the fit of two adjoining plates and a precise checking process was needed. The steel hull plates are approximately 3 to 4 inches thick and measure over 25 feet on their long edge. The top and bottom surfaces of the edge are beveled at 45° so when the two plates are edge welded together the welding bead will fill this chamfered area for additional strength inside and outside of the hull.
Before the plates are selected and positioned for welding, their long edges are checked for straightness and fit within a prescribed tolerance. Pinpoint designed and developed a portable, easy to use laser measuring system that can be magnetically secured to the edge of the plate and allows receiver to slide down the edge of the plate making straightness measurements to ensure that the selected edge falls into compliance with the straightness specification.
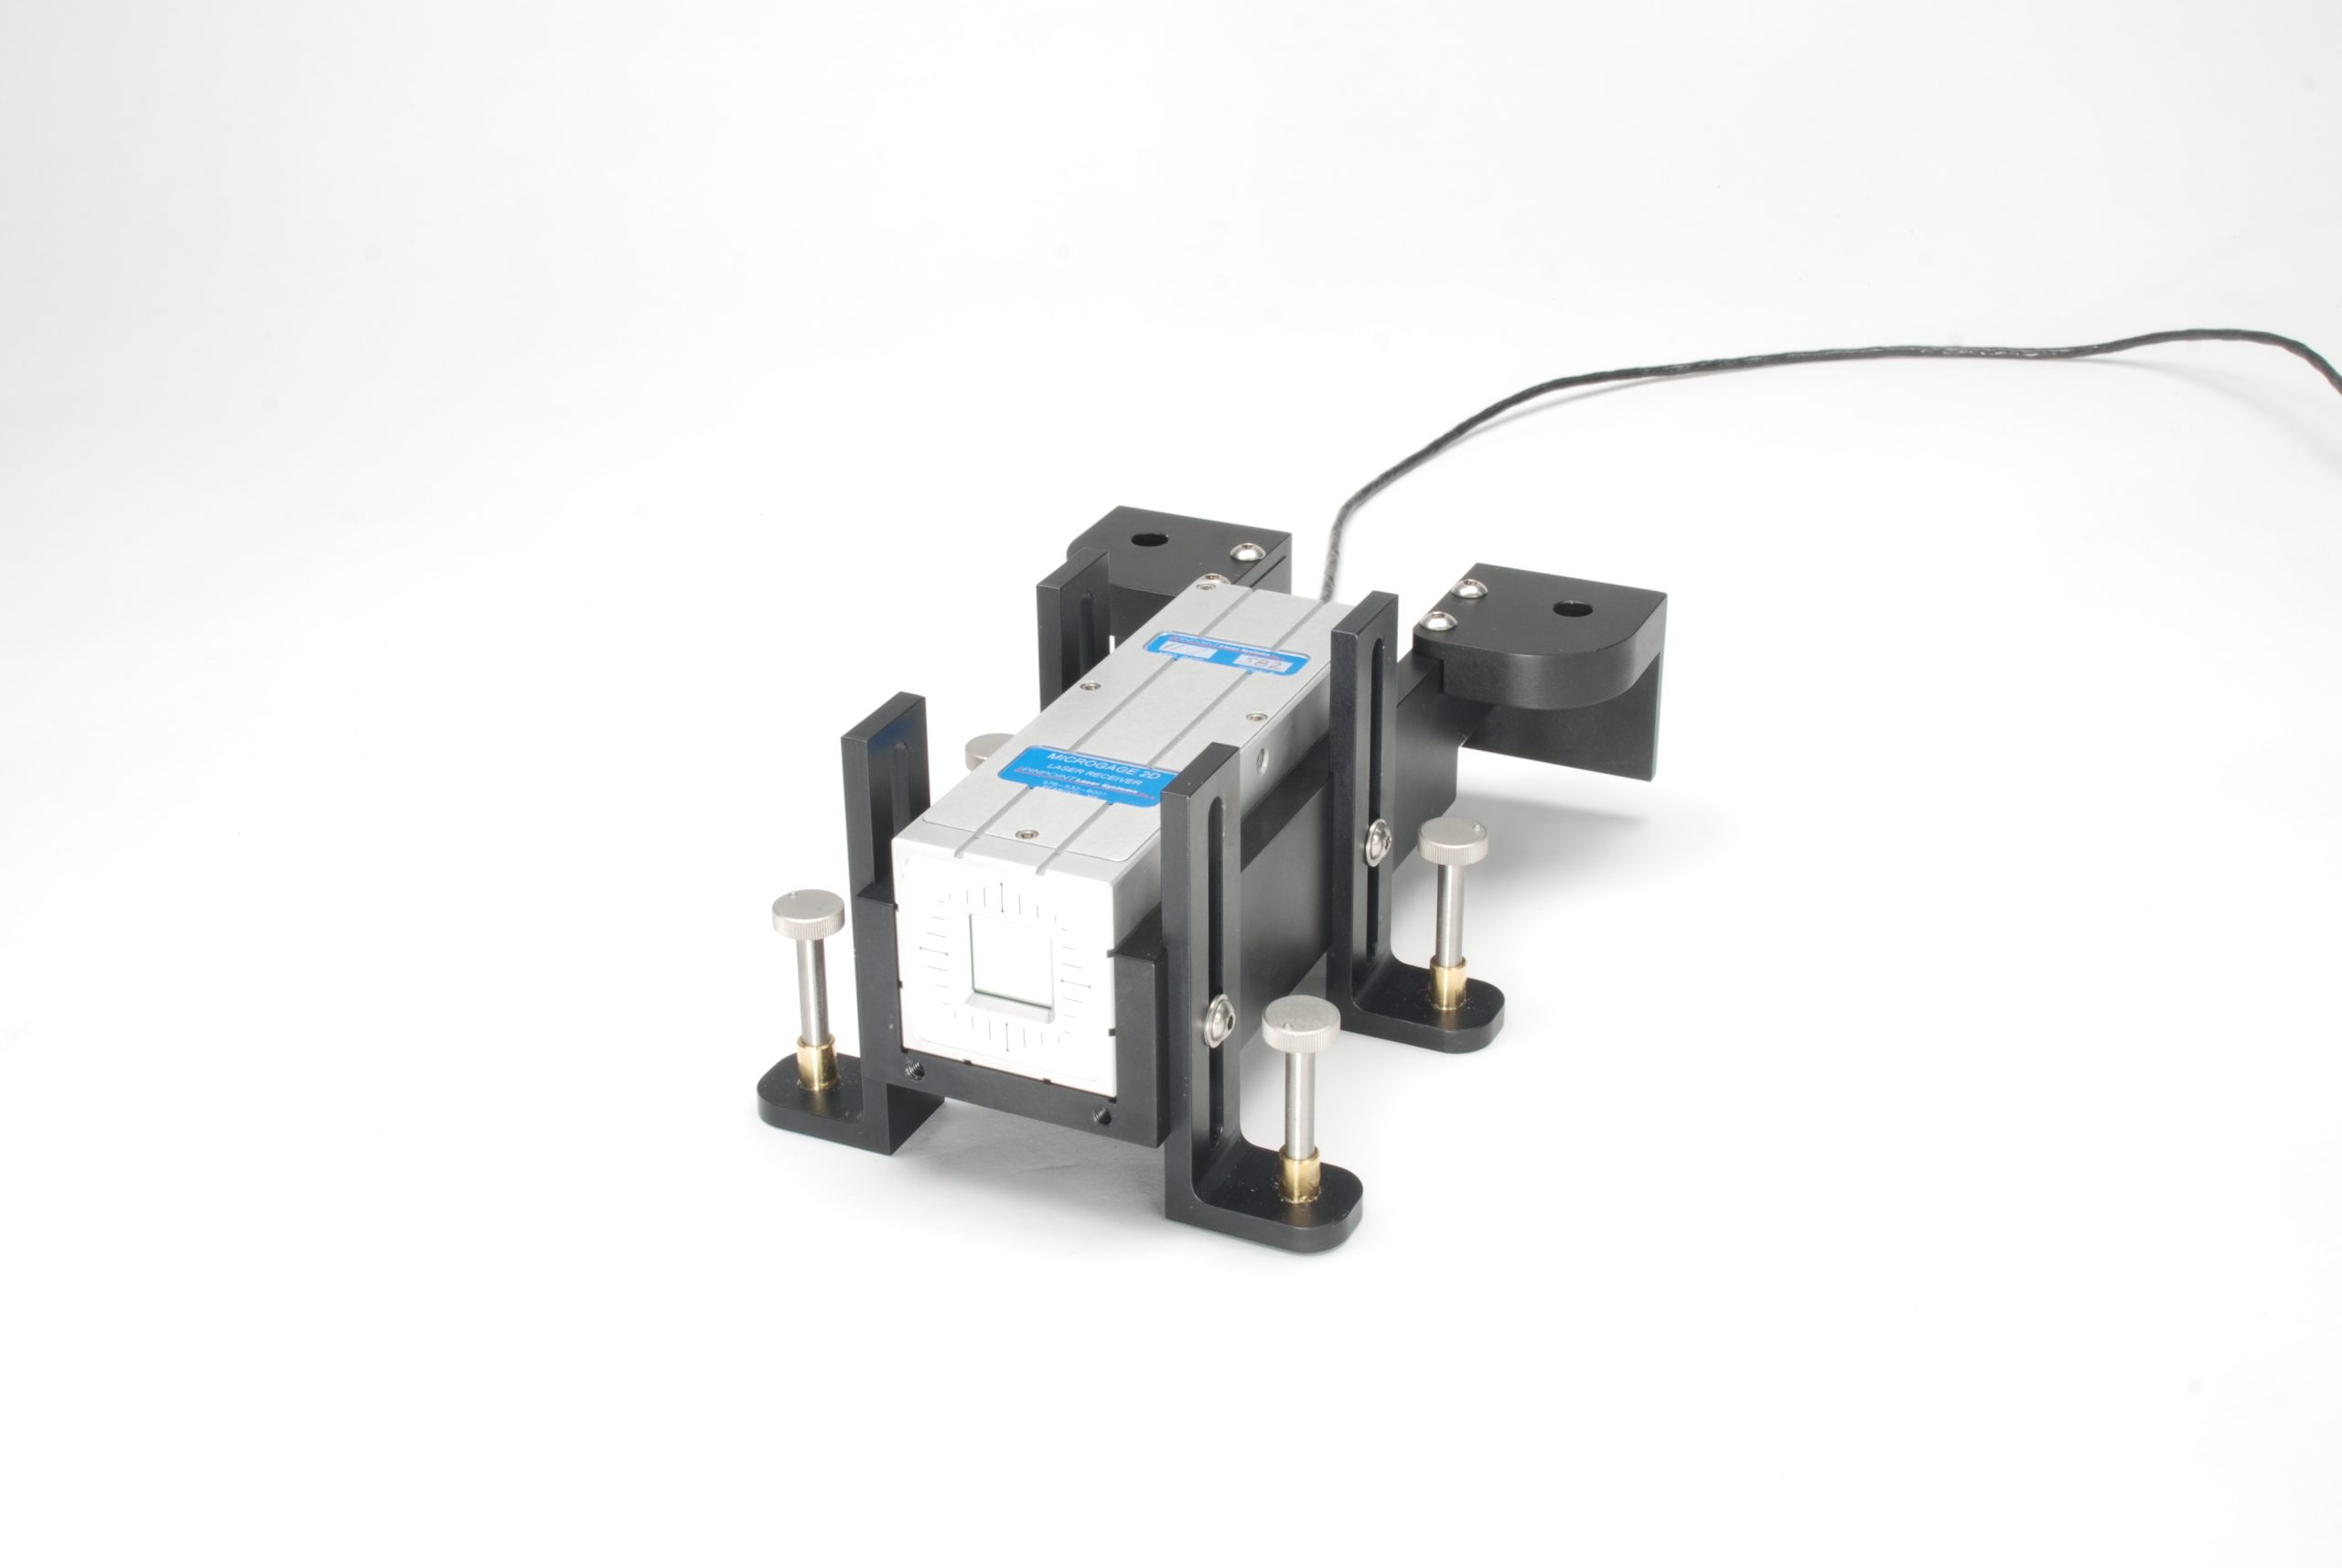
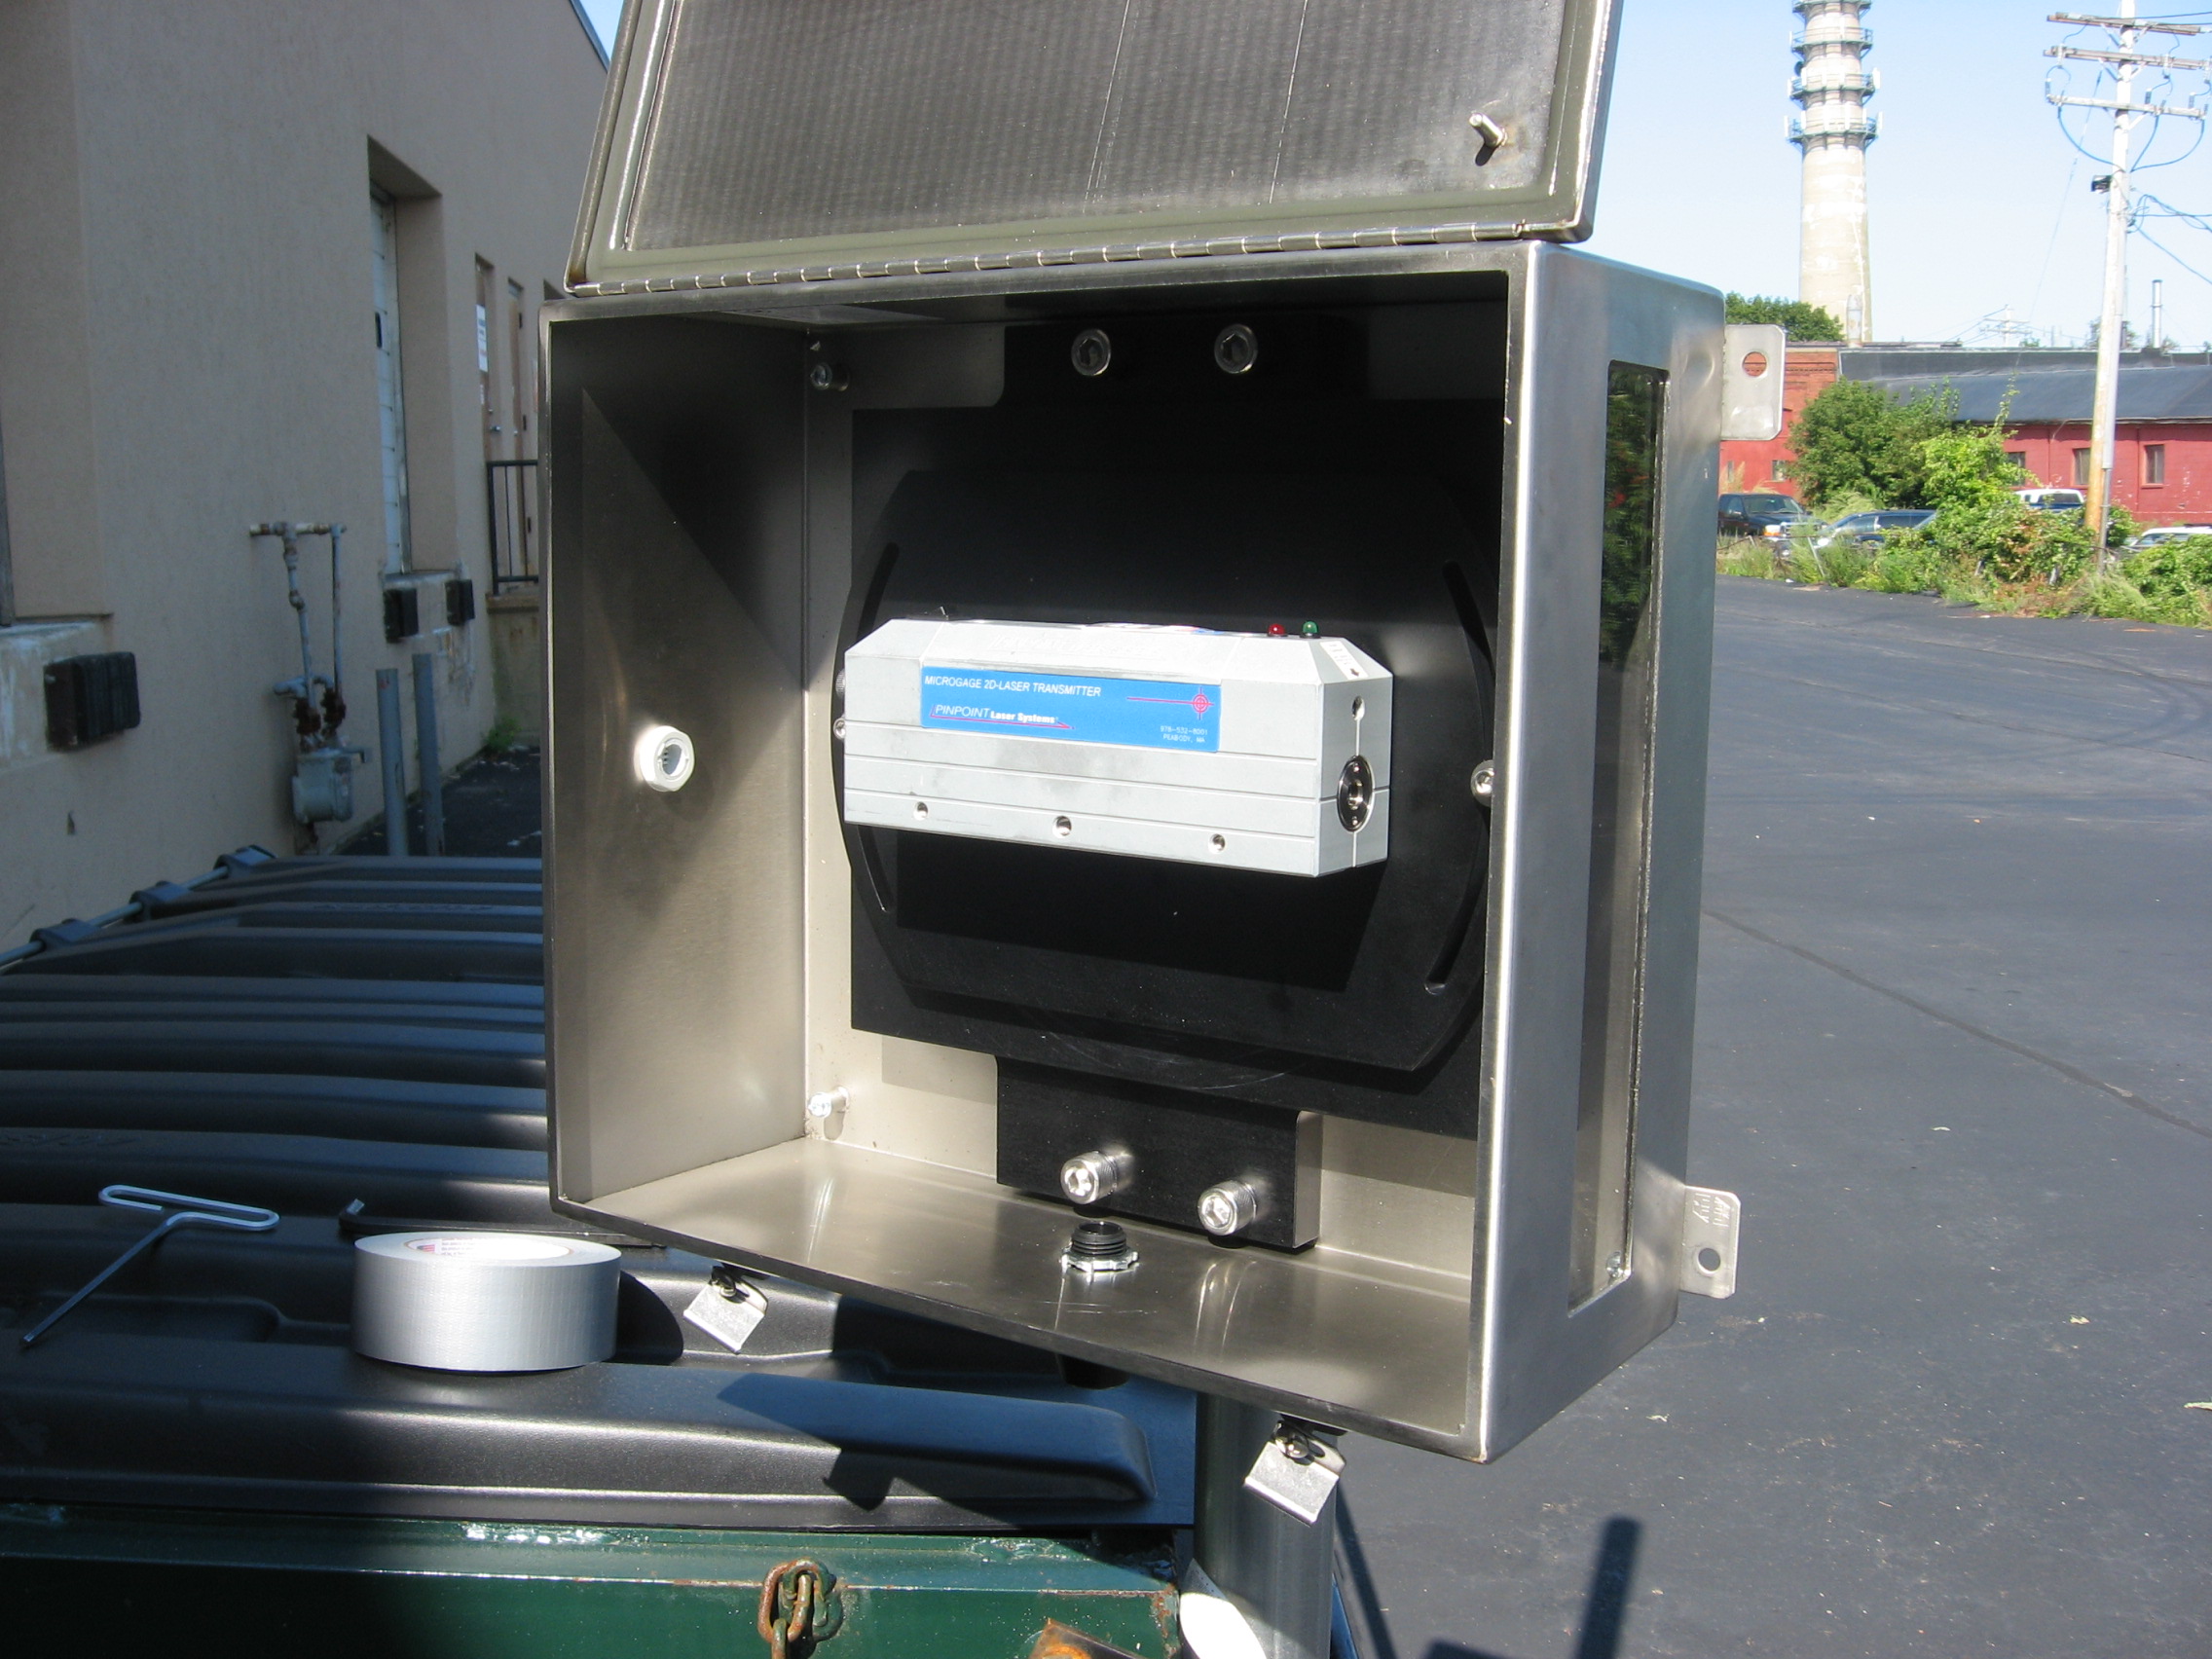
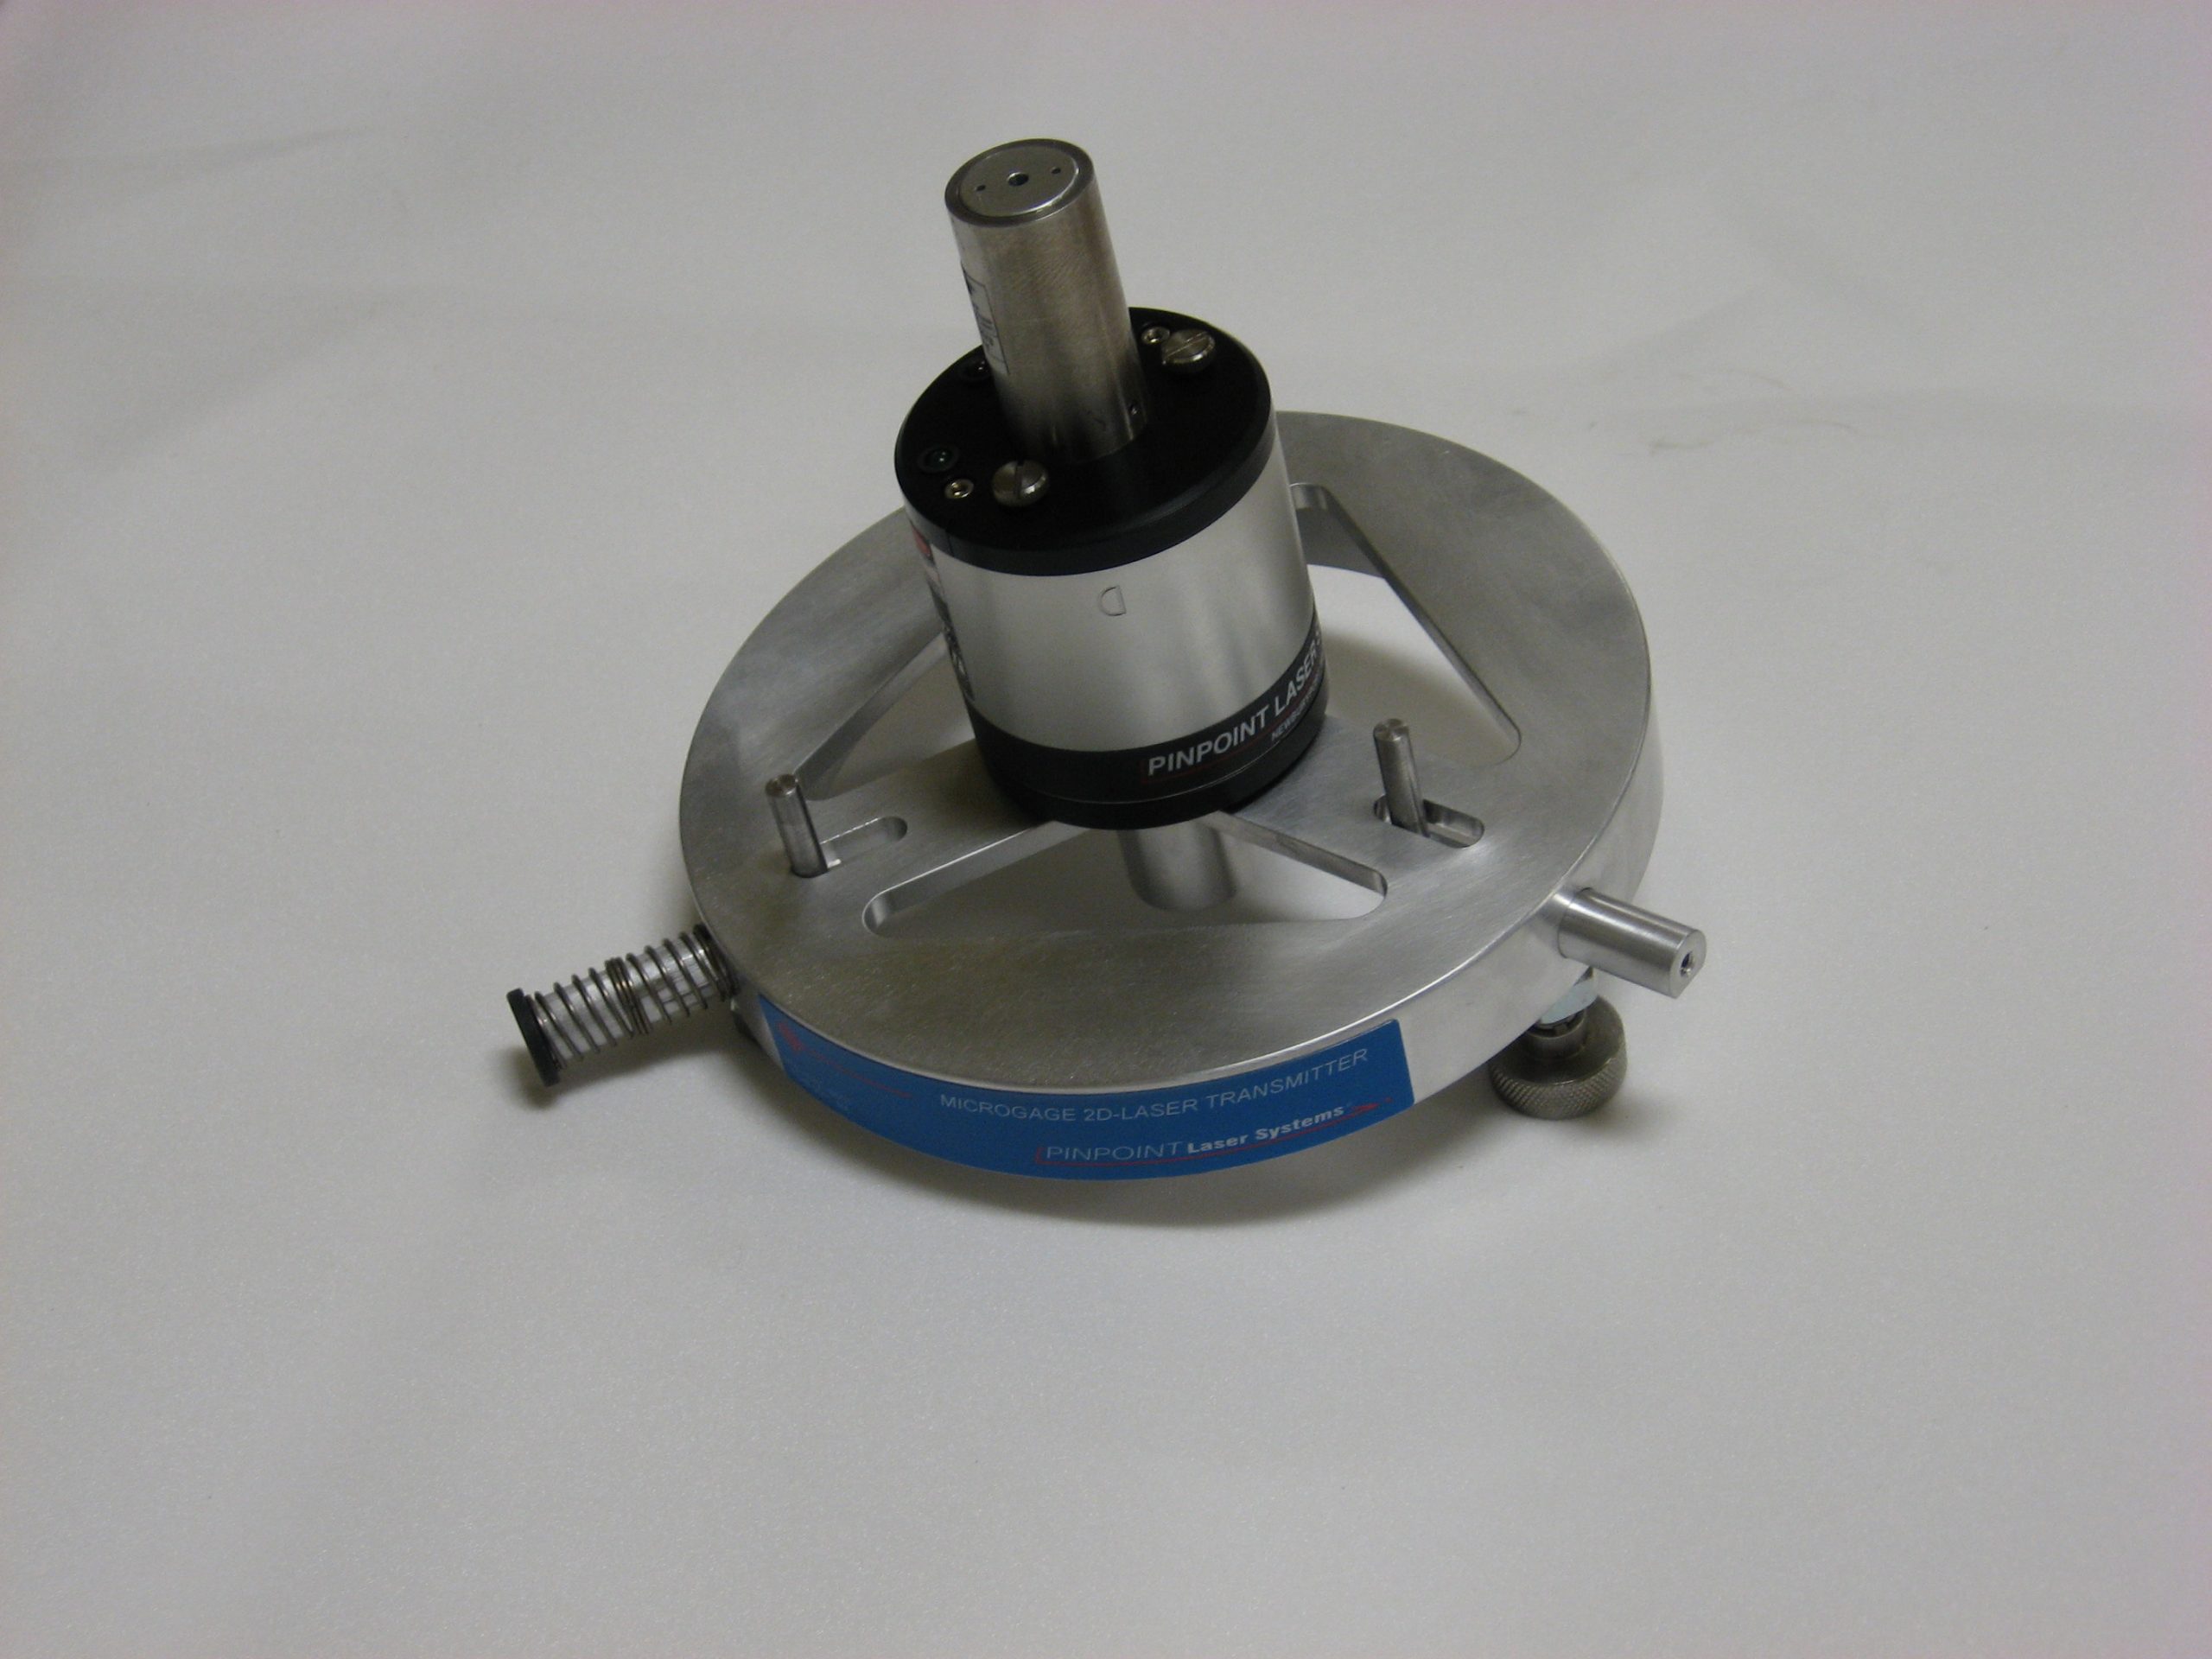
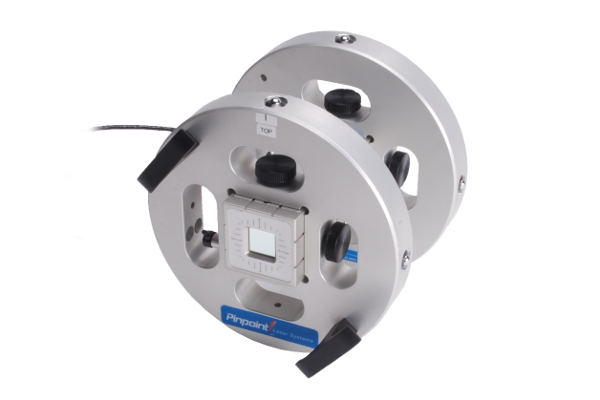
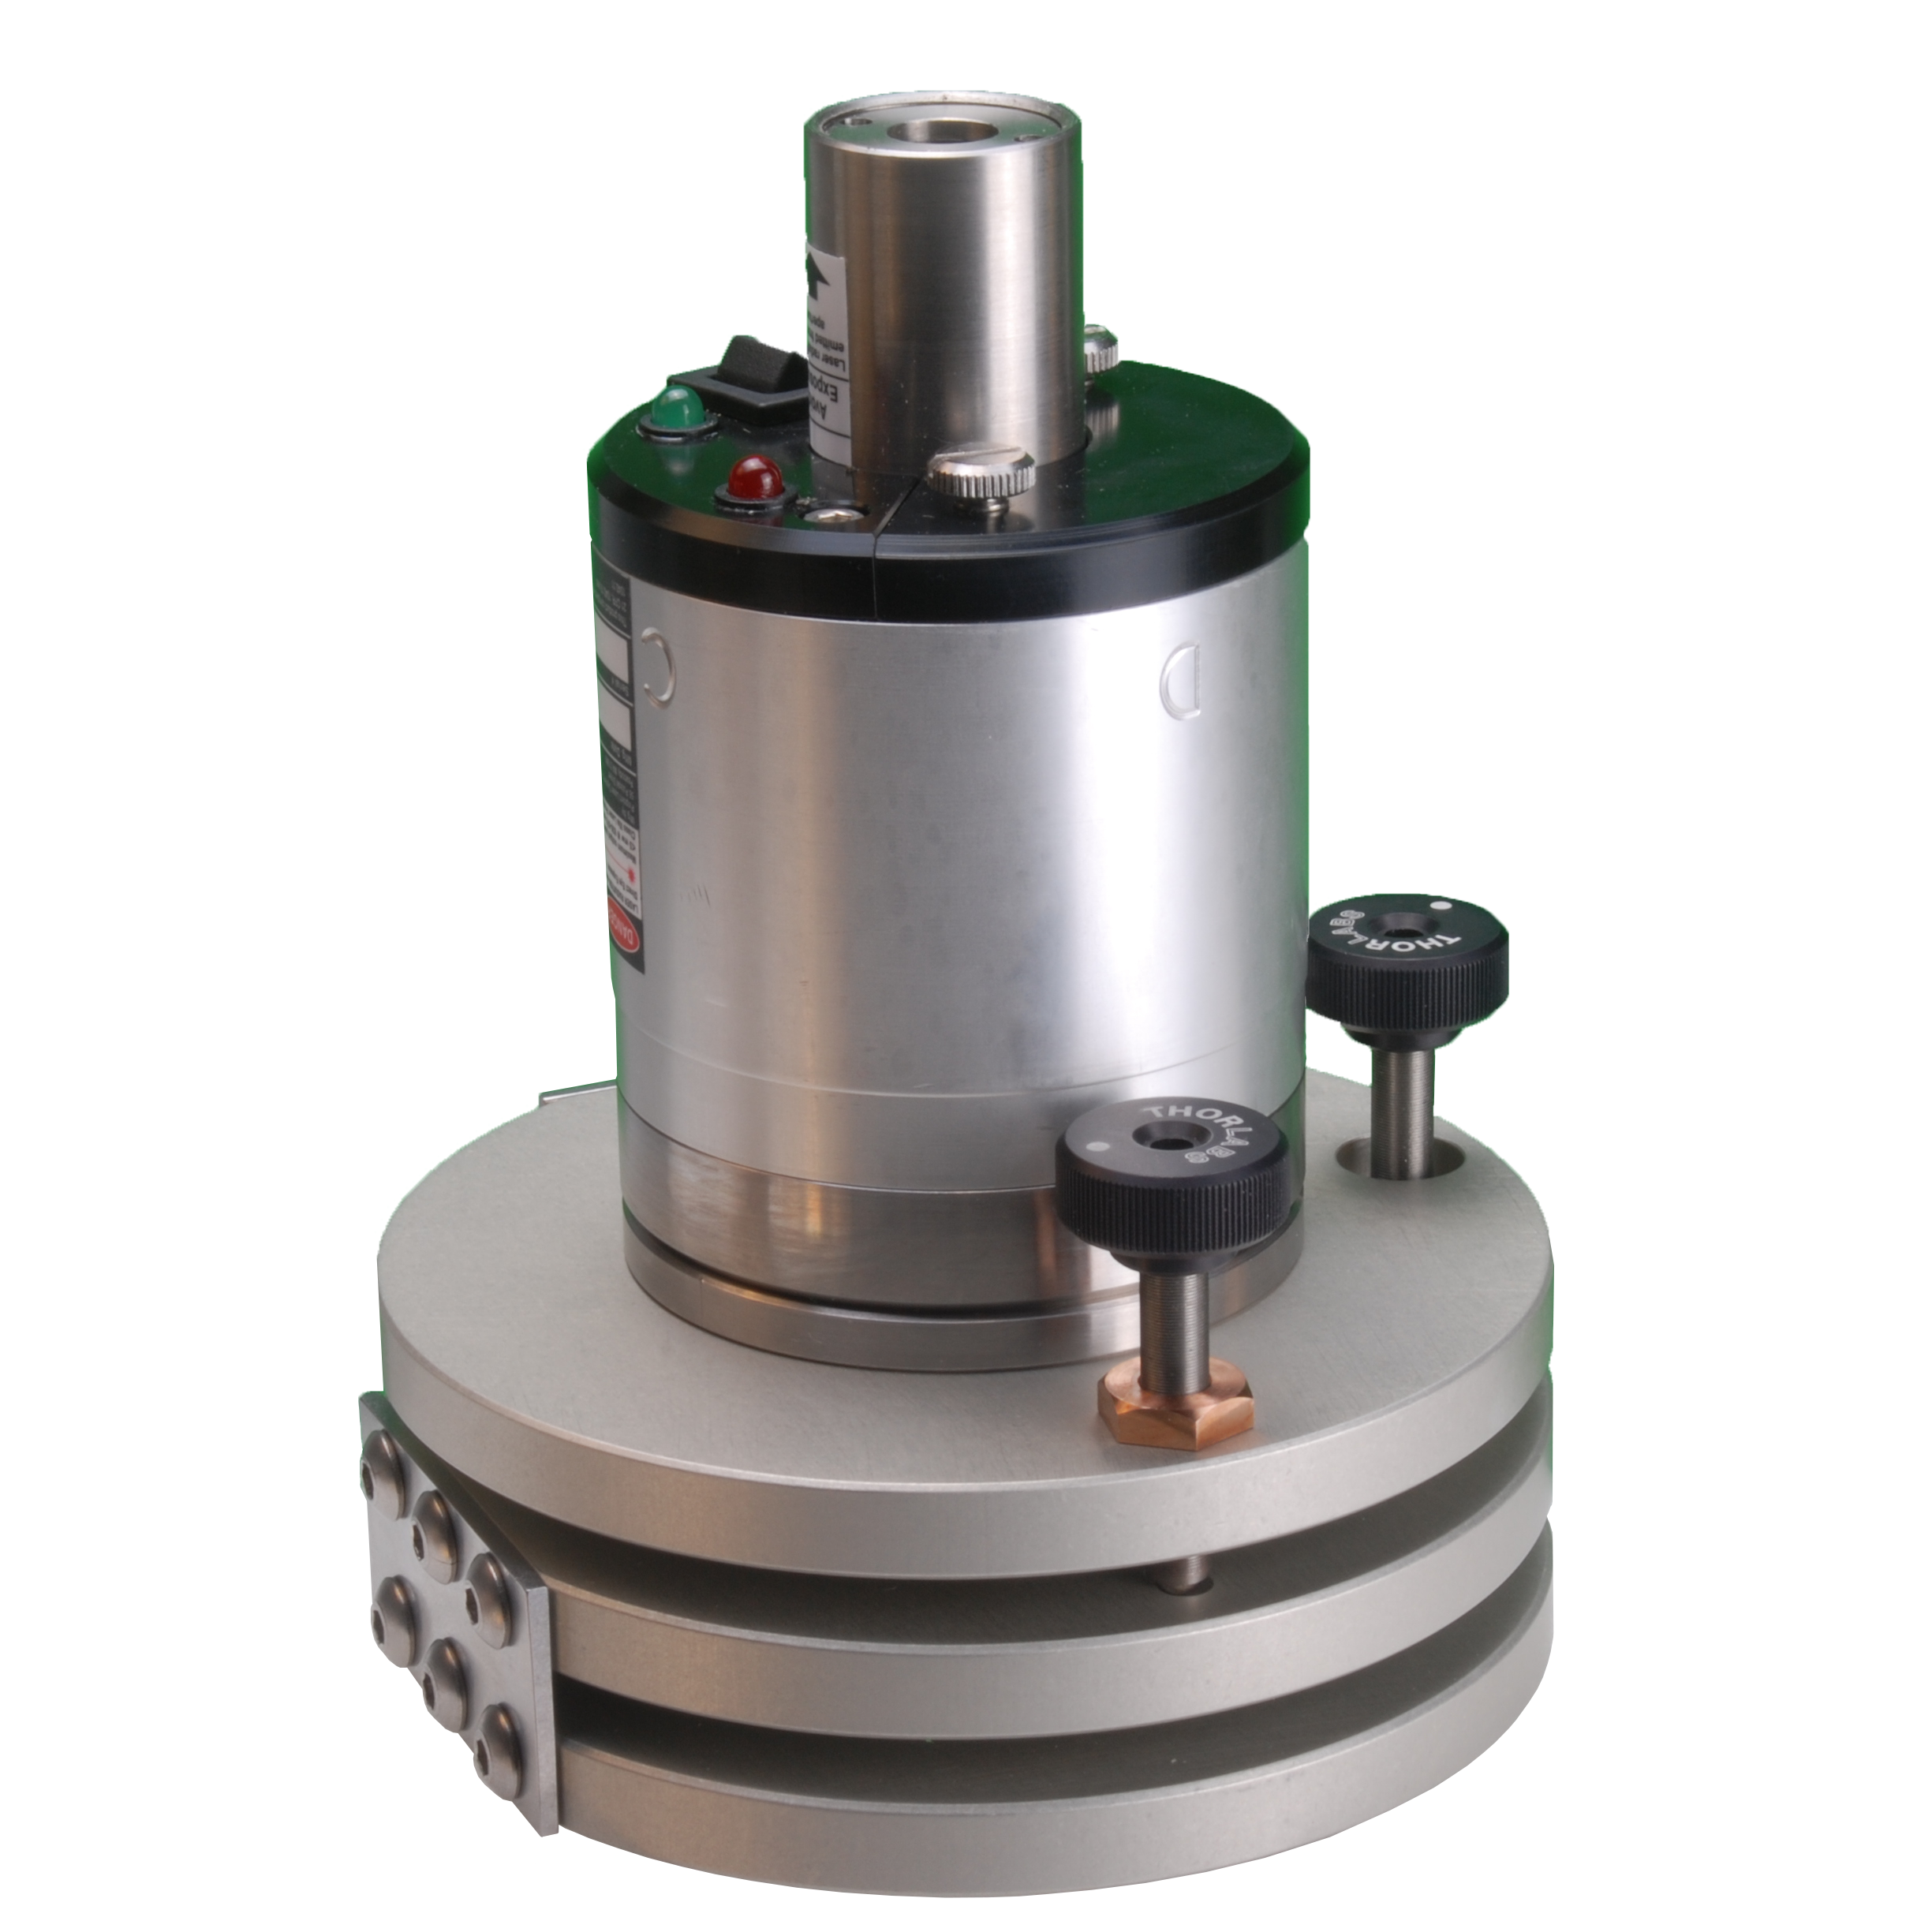
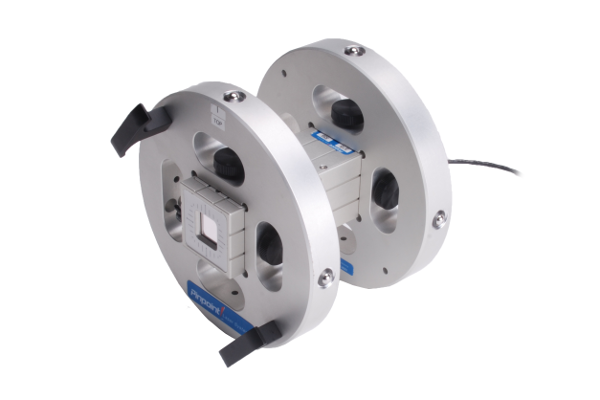
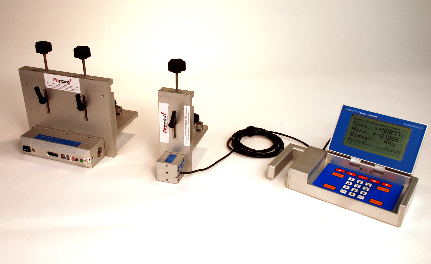
The photograph to the right shows the Microgage laser transmitter on an adjustable magnetic base that secures to the edge of the steel plate. A pair of on-off magnets secures the fixture to the top surface of the steel plate. Two threaded adjustment screws and their appropriate locking mechanisms, allow the laser transmitter to be adjusted up or down the edge of the steel plate oriented on a horizontal checking position. Once the laser is in position, it projects a visible reference line along the edge of the plate. A similar fixture, shown on the right, holds the Laser Microgage 2 axis digital receiver. As the laser reference beam lands on the receiver an internal detector measures the precise position of the laser beam providing a digital readout of the laser beam position and the edge profile of the hull plate.
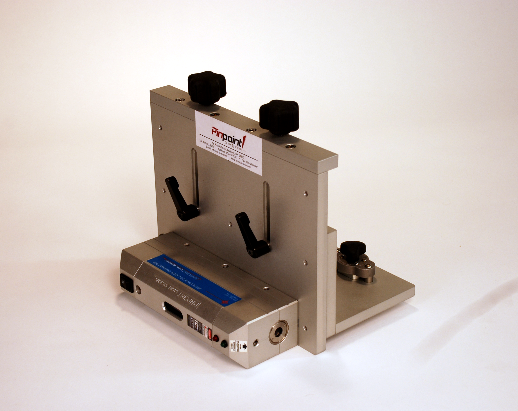

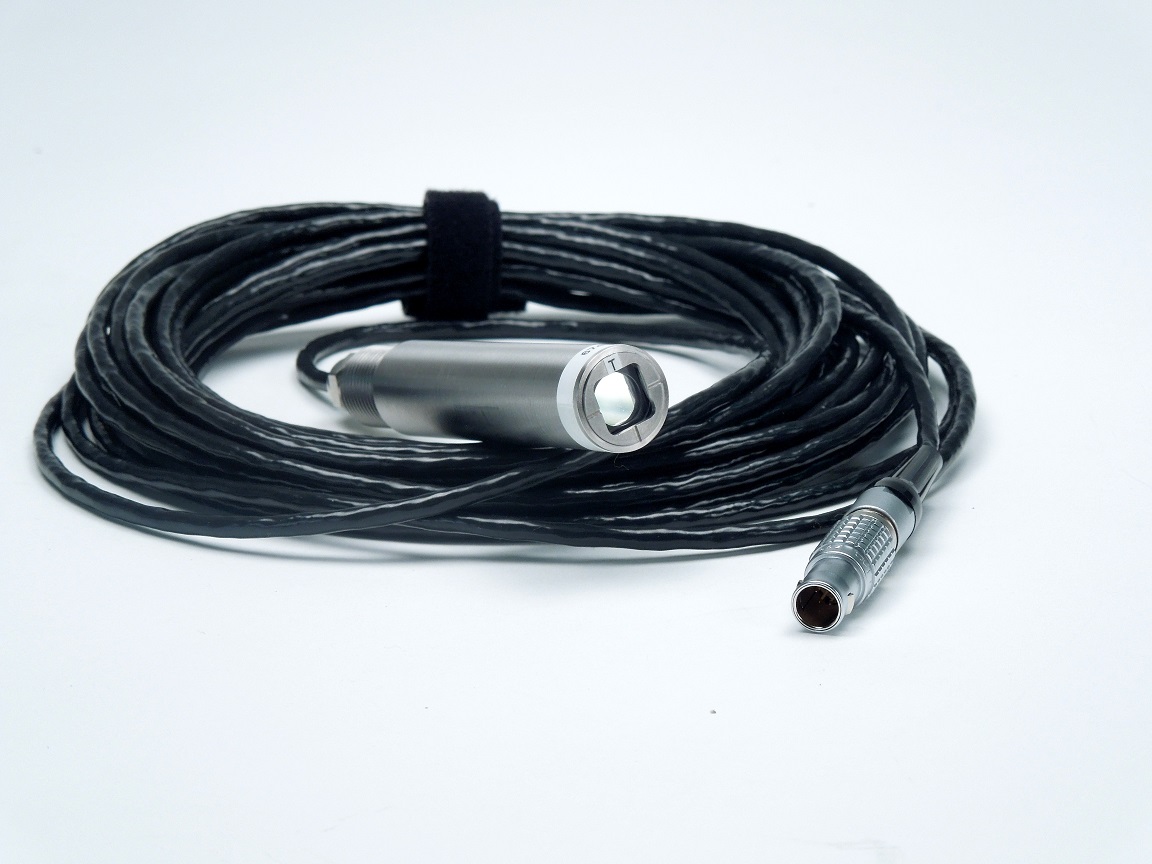
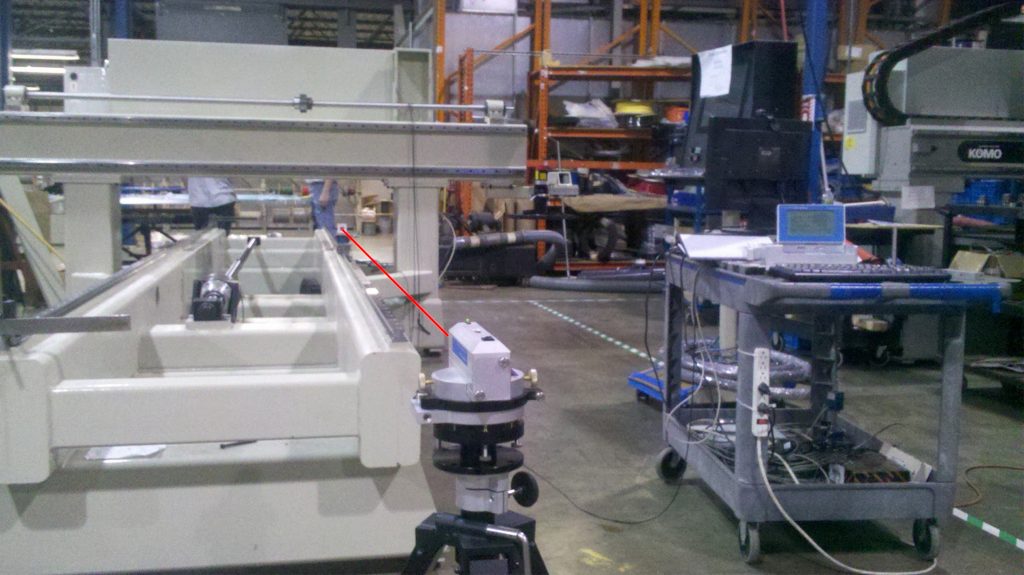
This fixture is also adjustable and once the receiver is adjusted to the correct position, to receive the laser reference beam, it can then be moved along the edge of the steel plate to monitor deviations in straightness. This Laser Microgage receiver measures with an accuracy of 0.0005 inch and can easily measure plates up to 100 feet in overall length. A laptop computer is simply connected to the display unit so that the edge can be mapped and recorded for as built documentation. The Laser Microgage system is battery-operated and machined from solid aluminum with a hard anodized coating and stainless steel internal components making it a durable production tool for the aggressive shipbuilding environment. This Microgage system is compact and portable for use all around the shipbuilding site.
This customized measurement system is a common example of Pinpoint Laser Systems working closely with customers to understand their specific measurement needs and then combining standard measuring products with custom assemblies to provide a working reliable solution.
Technical Specifications
- Measurement accuracy: 0.0005 inch (12.7 micron)
- Edge Straightness Range: 0.5 inch (12 mm)
- Measurement Distance: Up to 80 feet (25 meters)
- Laser Beam Characteristics; Red, Visible, 635 nanometers, class IIIa
- Battery Life: Laser; 12 hours, display 26 hours
- Data Interface: USB & serial ports for Laptop or PC
- Construction: machined anodized aluminum & stainless steel.
- Fixture Adjustments: ¼-20 threaded adjusters & plate locking feature.
- Magnetic Fixture Mounting: Laser Mounting: 180 Lbs., Receiver: 90 Lbs., On/Off.
- Storage: Durable Carrying Case with Foam Cut-outs.

More Custom Samples
Looking for Something Custom? We’ve Got You Covered.
Contact us at (800) 757-5383 or fill out the form to get started with a custom solution for your business!
[formidable id=56]

