Heavy Gantry Alignment
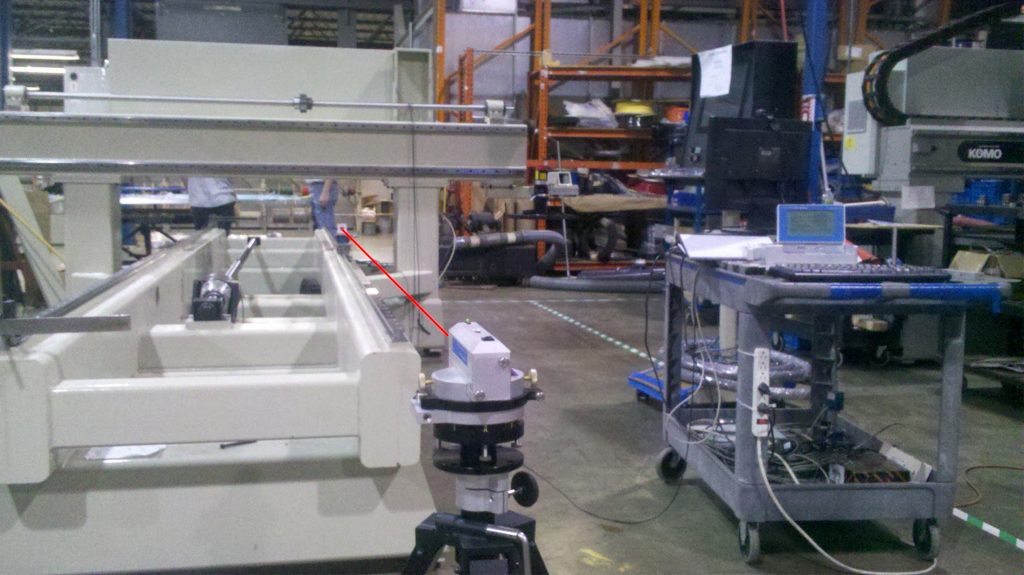
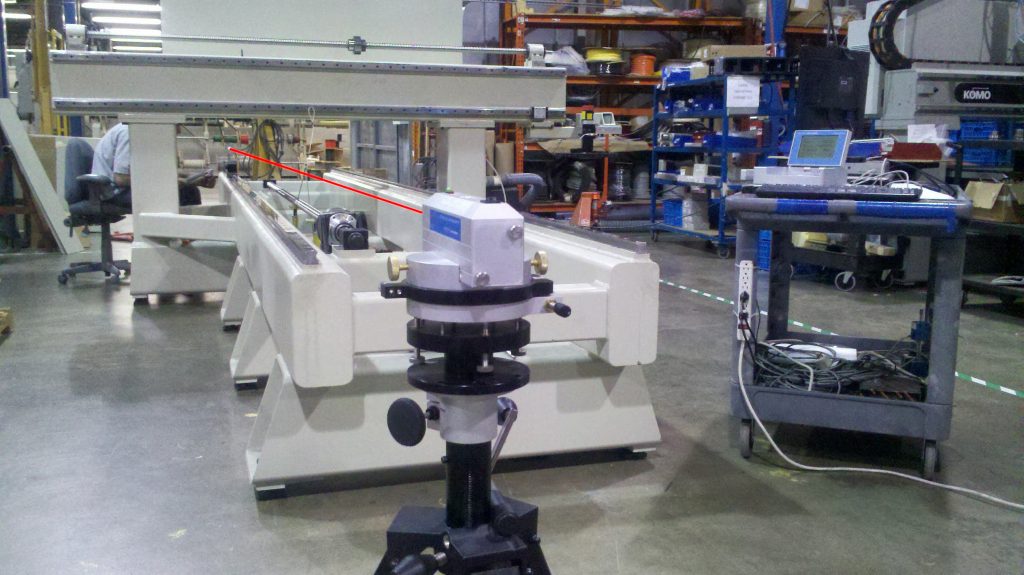
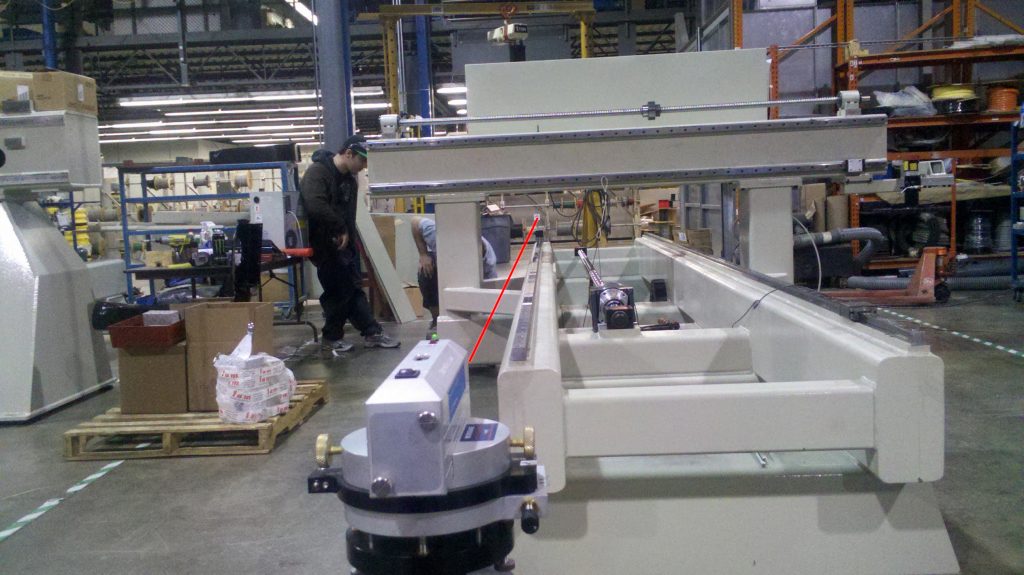
A machinery manufacture needed assistance in measuring the straightness and flatness of guide rails on their gantry system. The guide rails support a large moving cross bridge and due to the size and complexity of the gantry the team needed to adjust the gantry often. Their manufacturing requires the machine to be aligned with in 0.0005” with the added difficulty of the many adjustment bolts along the rail. These caused an issue because when one bolt was adjusted it would affect the adjustments of the bolts on its opposing sides resulting in a long and painstaking alignment process.
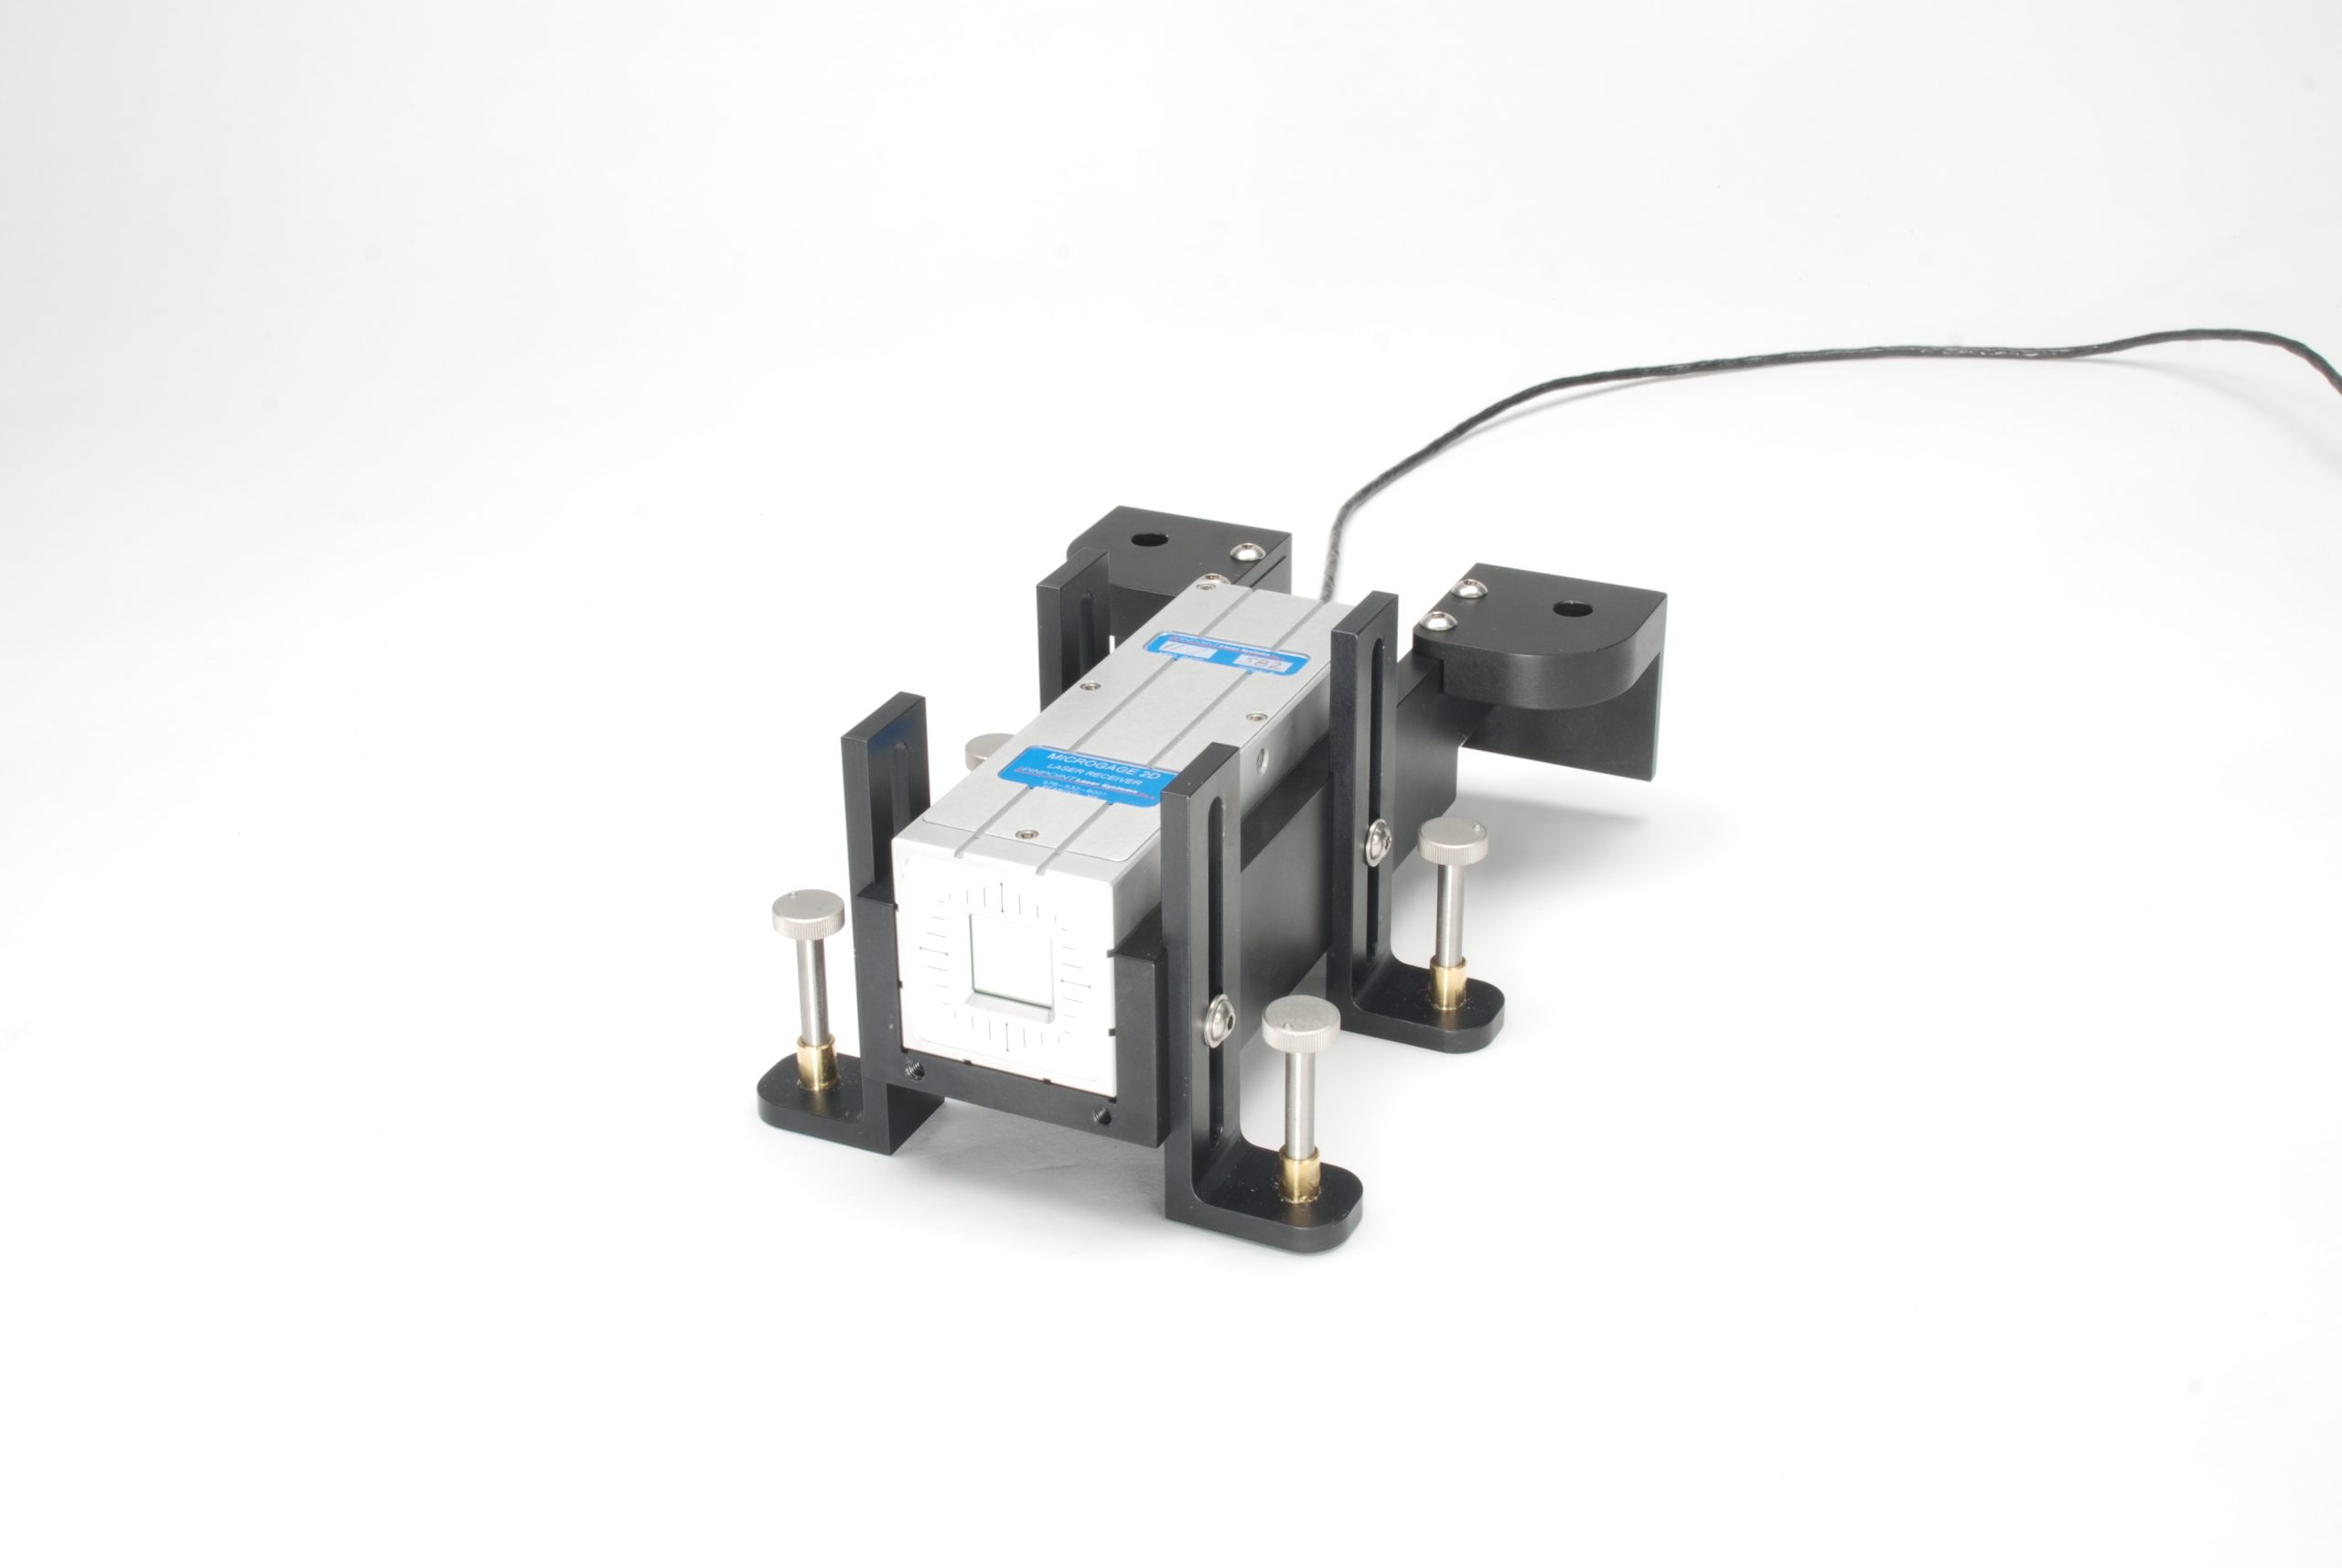
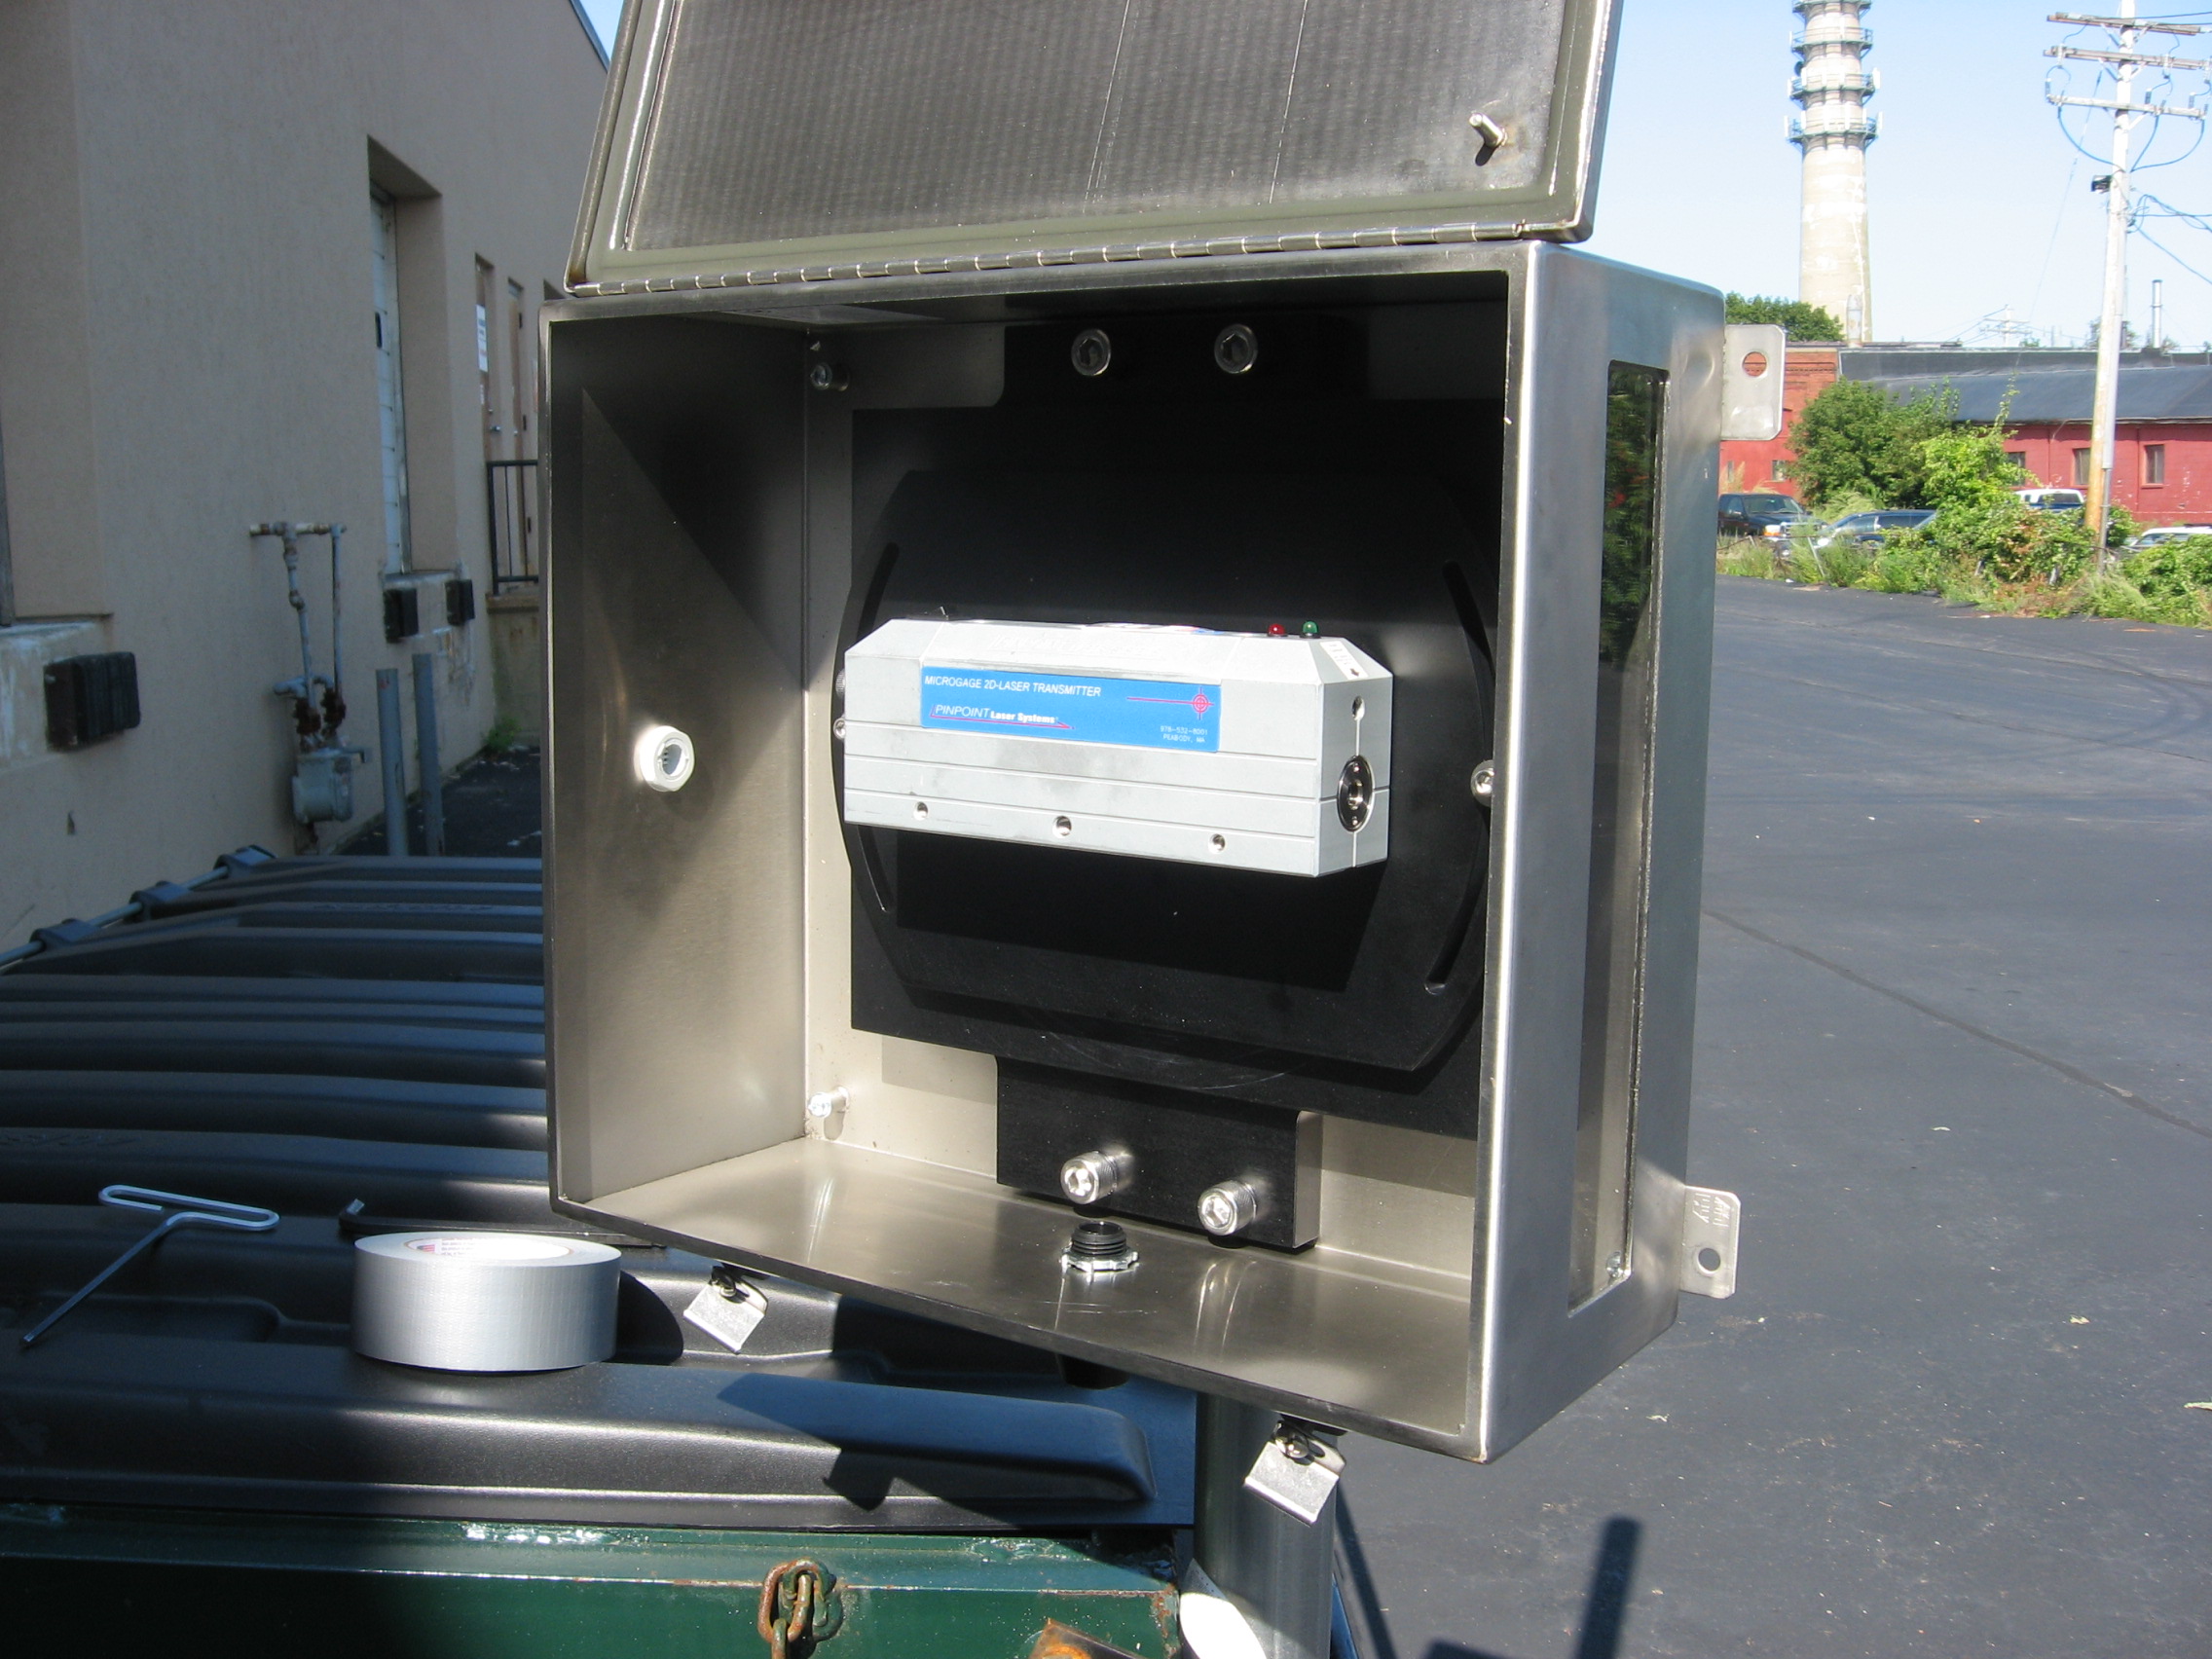
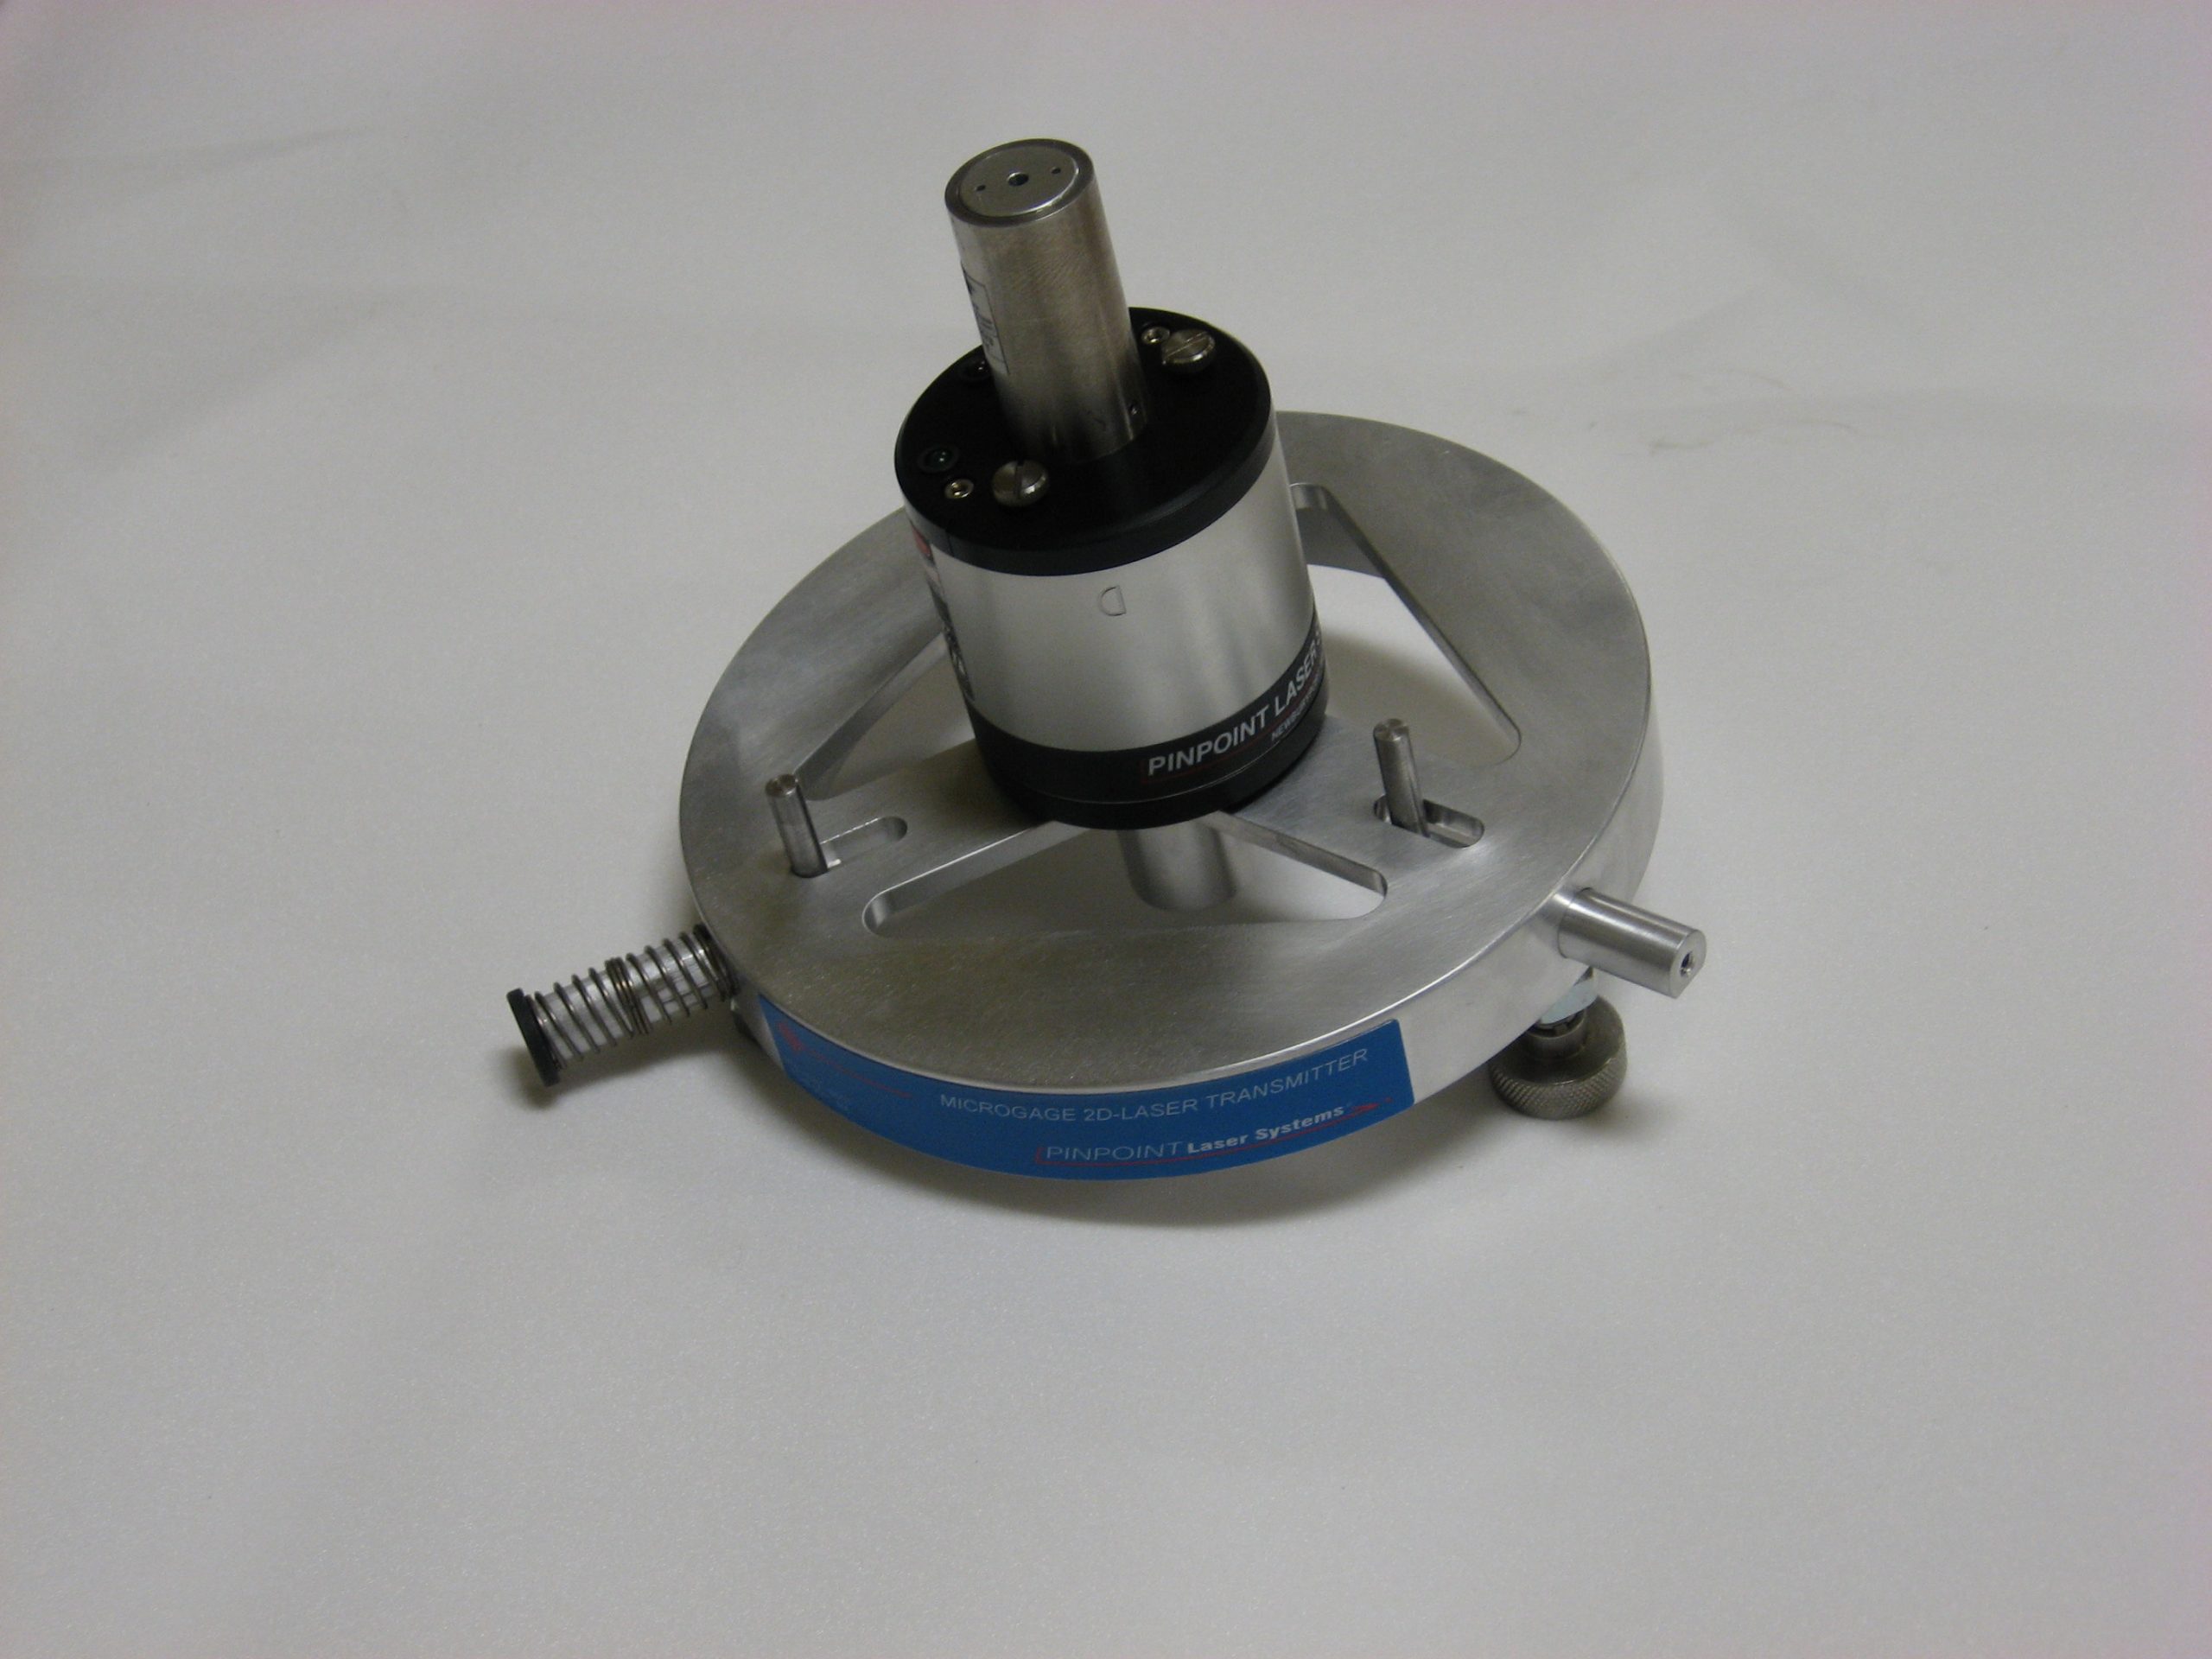
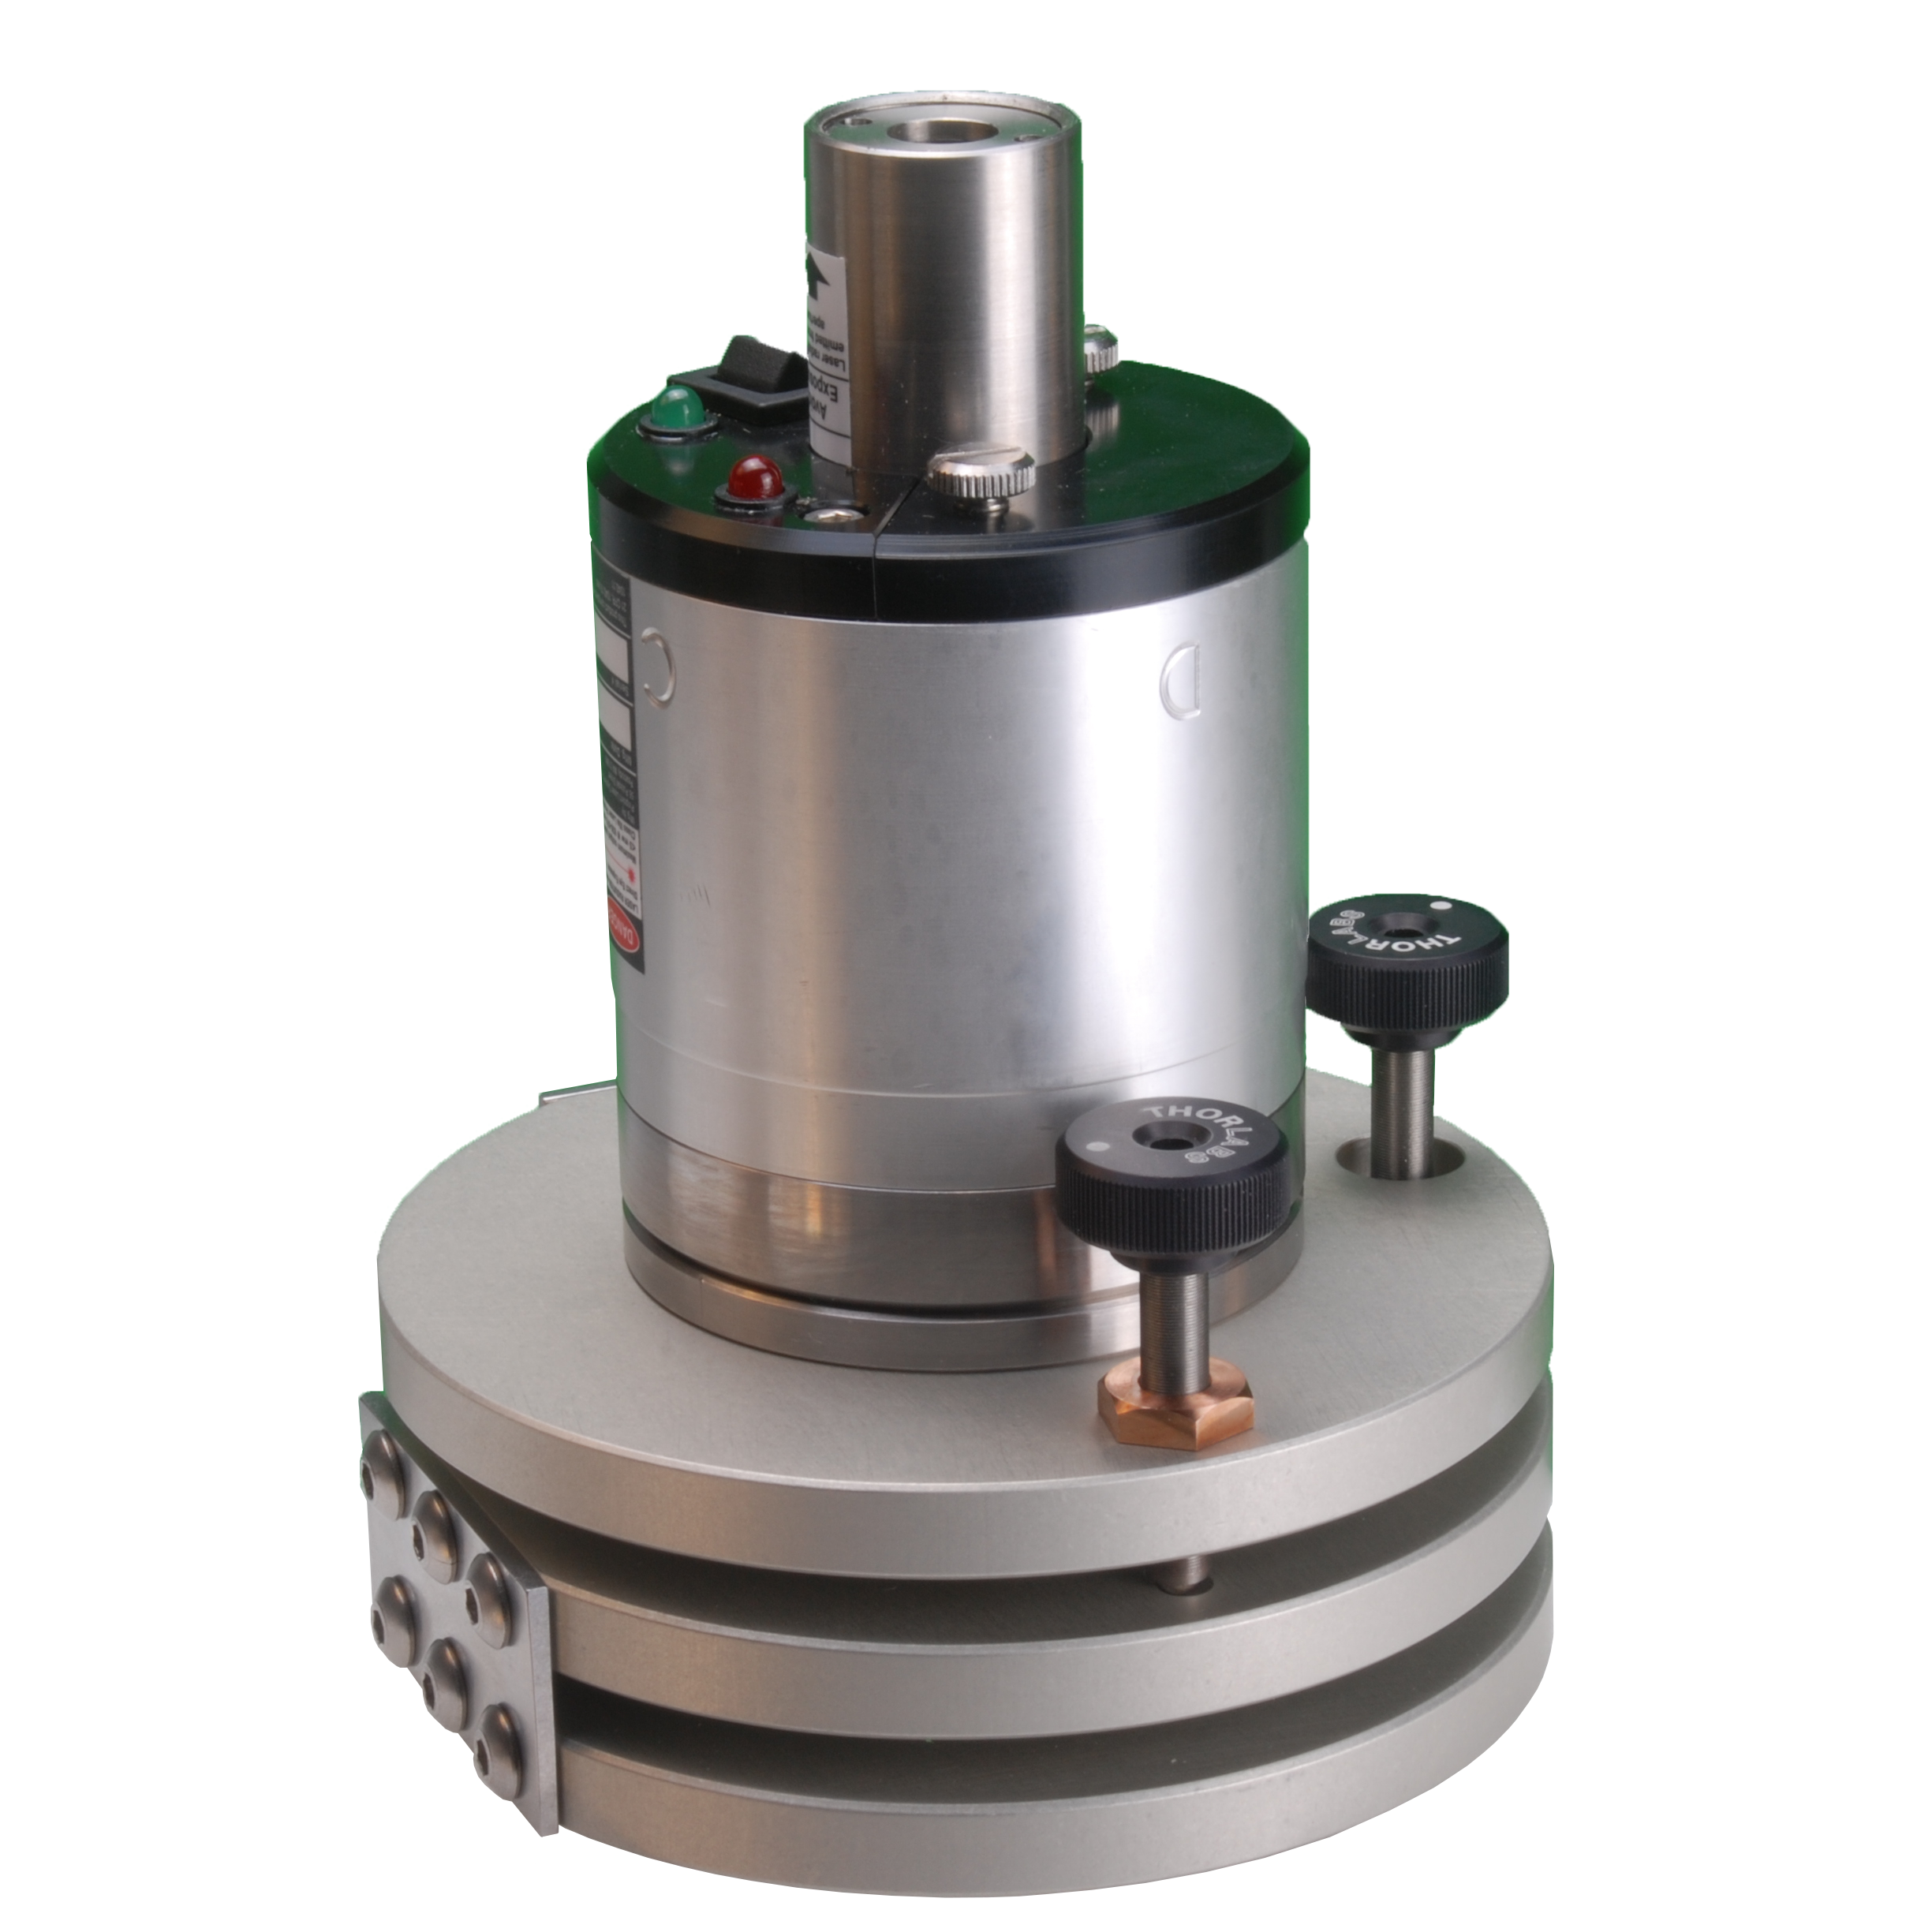
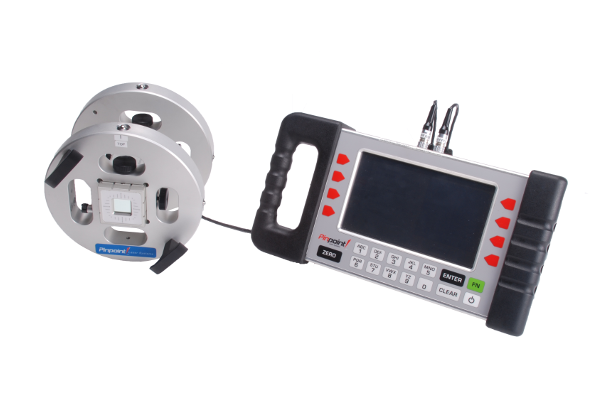
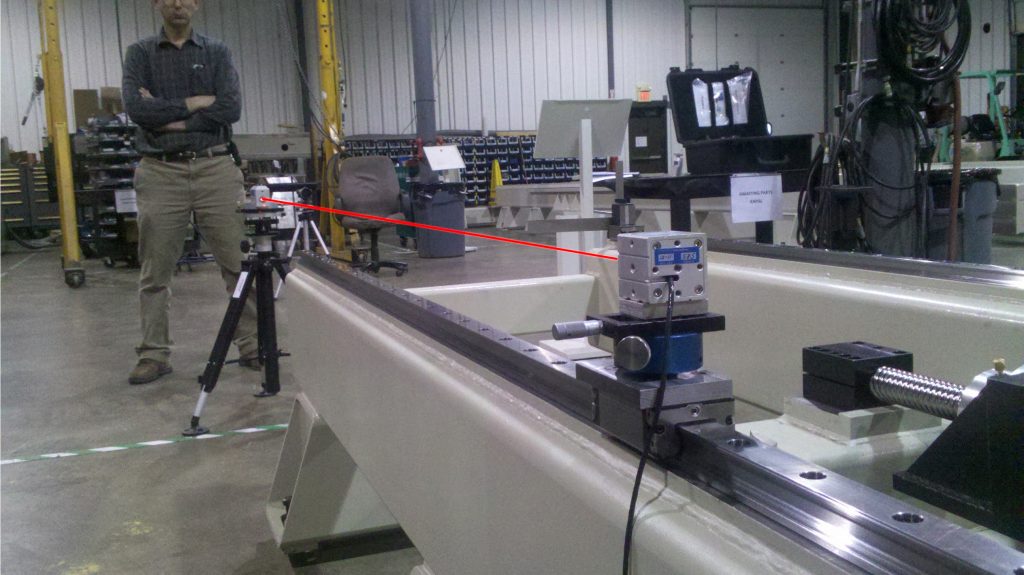
Pinpoint Laser System Laser Microgage made their alignment process much easier. It consisted of a laser, receiver, and display along with custom mounting attachments. The laser is mounted on a tripod shooting a reference beam straight down the length of the rail. Meanwhile, a Microgage 2-Axis receiver is secured on a mount that could easily slide down the rail. The results were then displayed on the receiver. This Microgage system provides X, Y reading so the team could easily adjust the rail while quickly positioning the receiver to get instant readings on the alignments they were making.
The Laser Microgage product is well proven and has had no difficulties in this application. The slide and mounting hardware are designed and fabricated with the system will be easy to set-up and built rugged enough to withstand years of use on the factory floor. Furthermore, the system is portable and can be easily moved and installed on other sites for similar measurements.
More Custom Samples
Looking for Something Custom? We’ve Got You Covered.
Contact us at (800) 757-5383 or fill out the form to get started with a custom solution for your business!
130 mm 4-Access Bore Mount
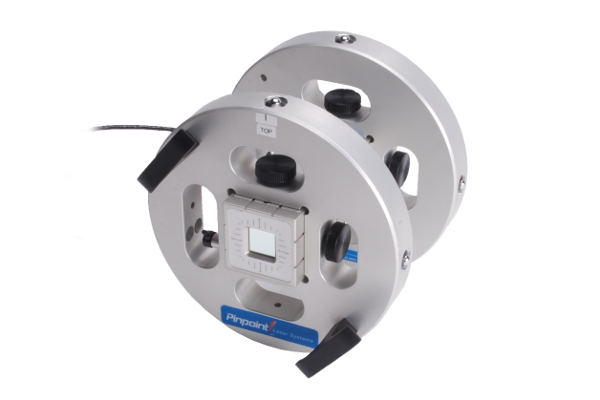
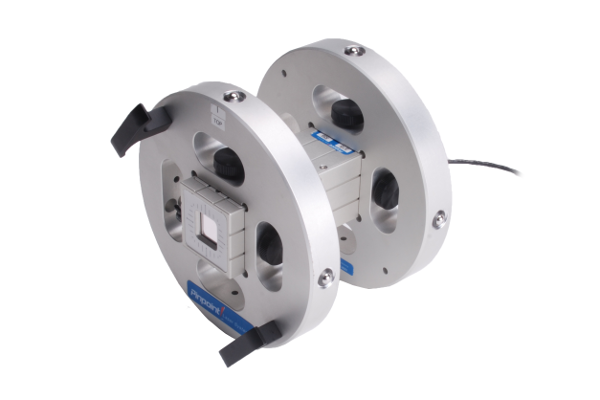
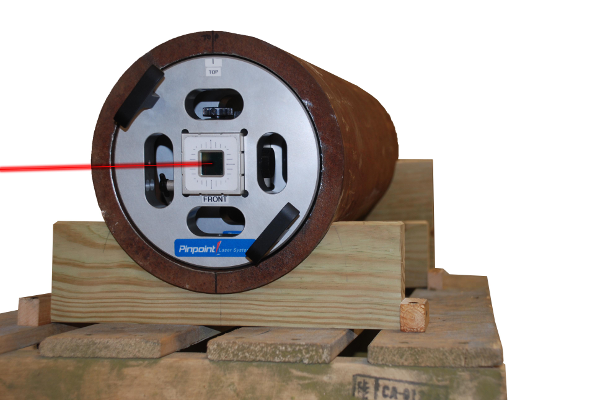
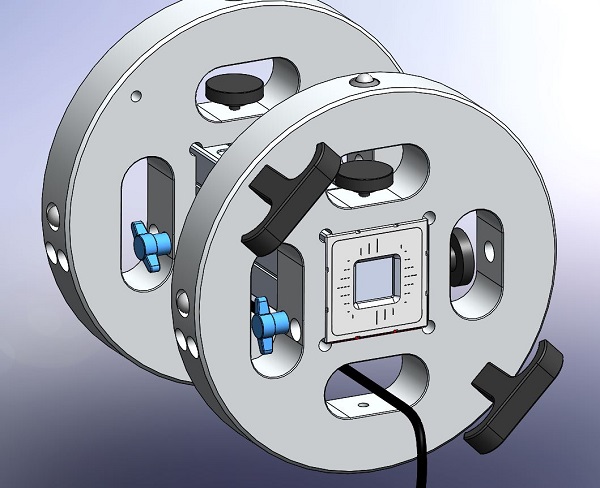
A recent customer came to us with an issue. They needed to position sections of large pipe at a specific angle within an apparatus to be welded together. After a discussion with our engineering team, Pinpoint determined a custom 130 mm bore mount for the 4-D receiver would be the best way to properly align their project. This design consists of 2 mounting disks that attach directly to the receiver. Small spring loaded ball plungers are also on the outside edge of the disks to ensure a smooth installation that still will hold itself in place within the tube. Although this design was originally designed for use in the fabrication of a blast furnace, this design is also suited for aligning propeller stuffing boxes and shaft seals on ships.
Technical Specifications
- Constructed from Machine and Anodized Aluminum
- 2 130 mm Bore Mount Discs
- 8 Hardened Tooling Balls to Index Tube Wall
- Spring Ball Plungers to Provide Grip
- 2 Aluminum Hand Grips for Handling

More Custom Samples
Looking for Something Custom? We’ve Got You Covered.
Contact us at (800) 757-5383 or fill out the form to get started with a custom solution for your business!

